

The final countdown has already started, we are just a few weeks to end Fab Academy. It´s been a long and hard journey. This is week 15, and it's about Wildcard week. The idea for this week is to do something that we haven't done, try new things and even a new machine. Sincerely I have no idea what i'm going to do, but what I do know is clear................. I got to do something! This week I started by thinking about what I could make and how. I started reviewing the machines I have used so far, so I saw the sewing machine and I thought giving it a try. So know that I know what i'm doing, and as usual, hoping for the best. And of course hoping that "no problems" arise along the way!


This week assignmets are:
Group assignments:
Individual assignments:
| Materials and equipment i'm using: |
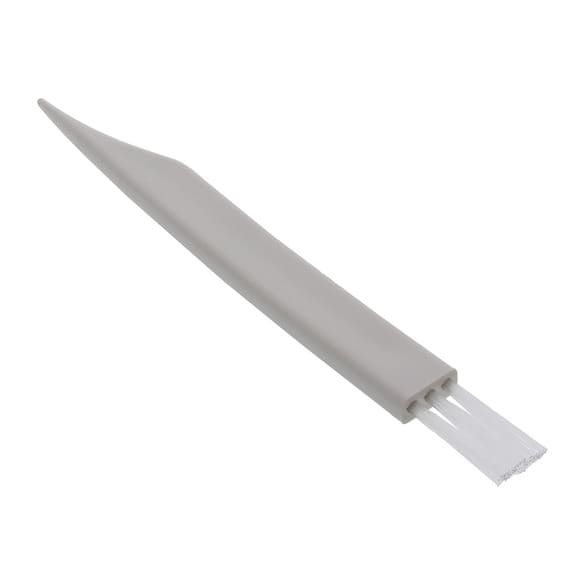
| Lint brush |
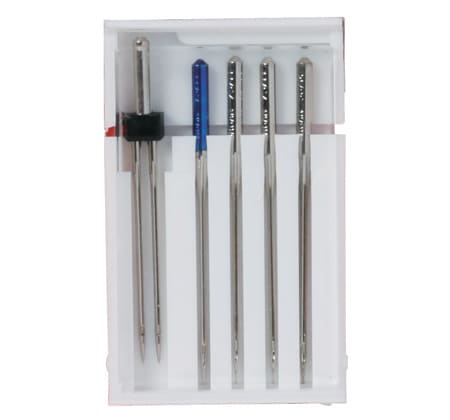
| Needle set |
| Thread |
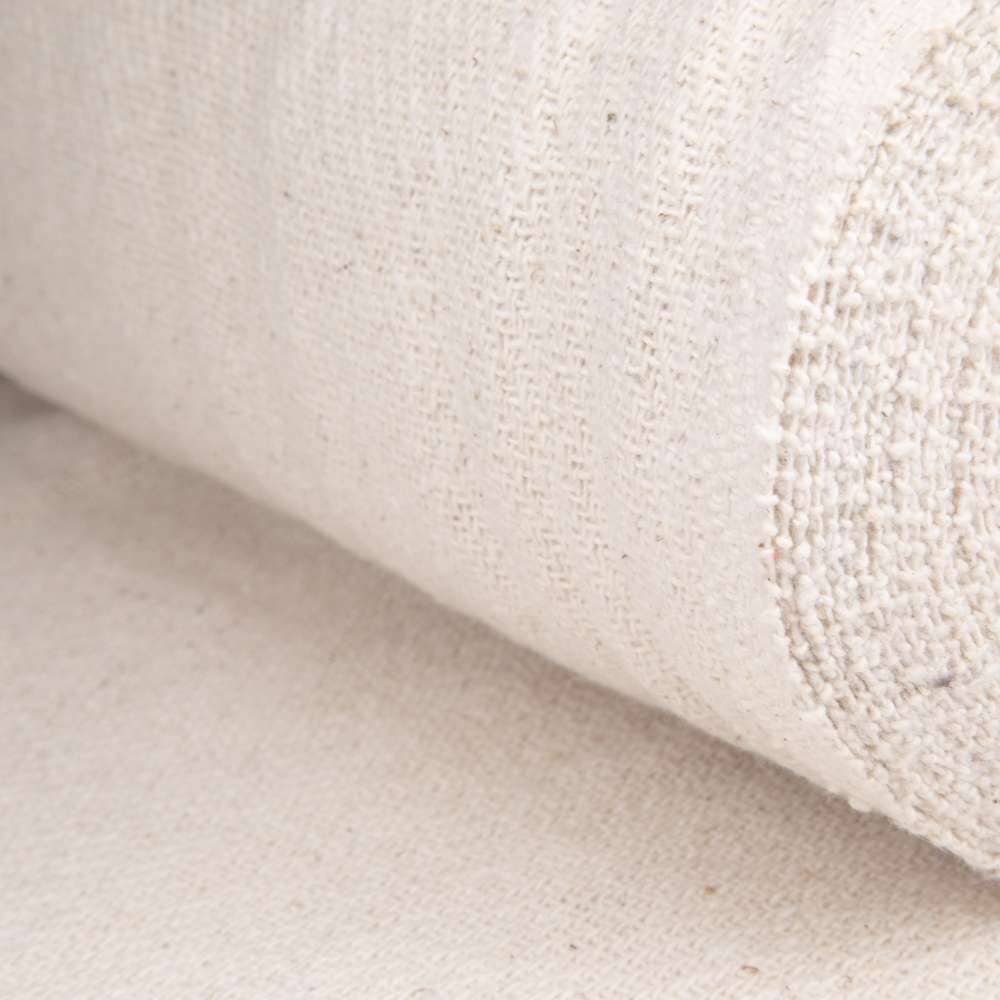
| Fabric (blanket, jean) |
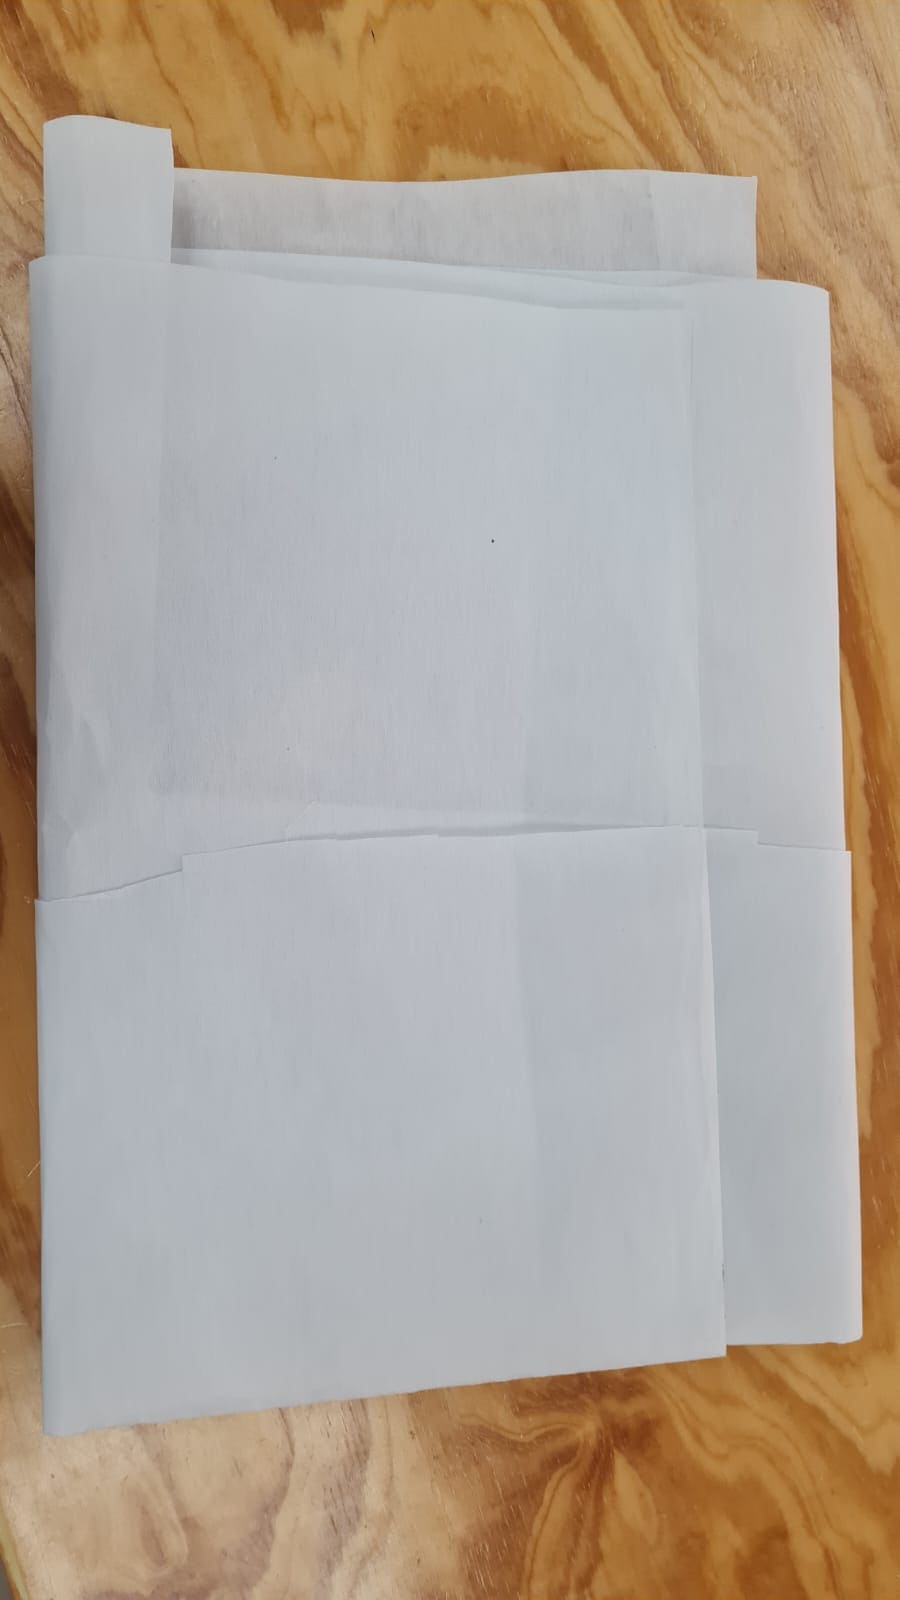
| Pelium fabric |
| Embroidery |

Sewing machine
The Janome 500E is an embroidery machine that is perfect for those who want to take their embroidery projects to the next level. With a large embroidery area of 7.9″ x 11″, it can handle large designs with ease. The machine comes with 160 built-in embroidery designs and 6 fonts, and it has a USB port for importing additional designs. The 500E has an automatic thread cutter and a top-loading bobbin system for easy use. The LCD touchscreen makes it easy to navigate through the machine’s functions and edit designs on the fly. The machine also comes with a bonus package of extra hoops and embroidery thread, making it a great value for any embroidery enthusiast. Janome machines can accept two file formats mostly JEF format is used of the modern machines like MC550e, Atelier 9, M17.
Features:
Data from: Janome MC 500E
| Materials needed: | |||||
| Lint brush | Needle set | Thread | Blanket fabric | Pelium fabric | Embroidery hoop |
|---|---|---|---|---|---|
 |
 |
 |
 |
 |
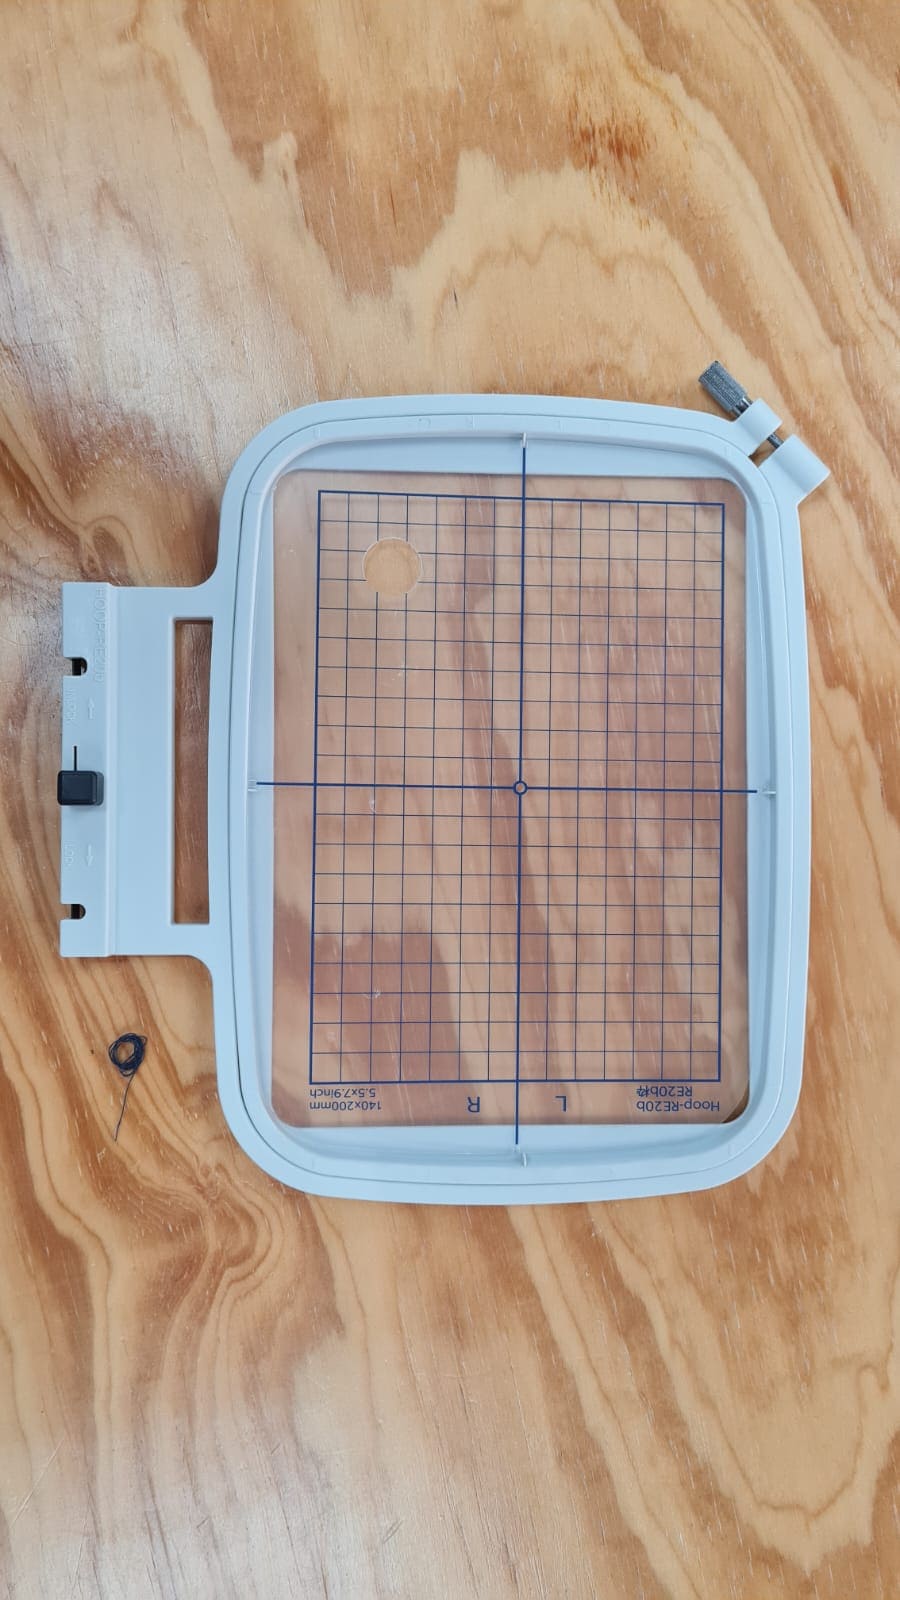 |
The materiales I just specify above are the ones i'm using to make my design. Its important to know that the Janome MC500e has more accesories that we can use in case we need them. In my case the ones I already specify are the ones i'll be using for my assignments. So before using the sewing machine I read the Instruction Book and some tutorials jus to be sure and prevent from doing too much "picnic" errors. Well, of course i'm going to document them to prevent future users from doing them , hope to make just a few.
Here's the Instruction book, just in case you want it: Janome MC500e
So lets begin following the steps:
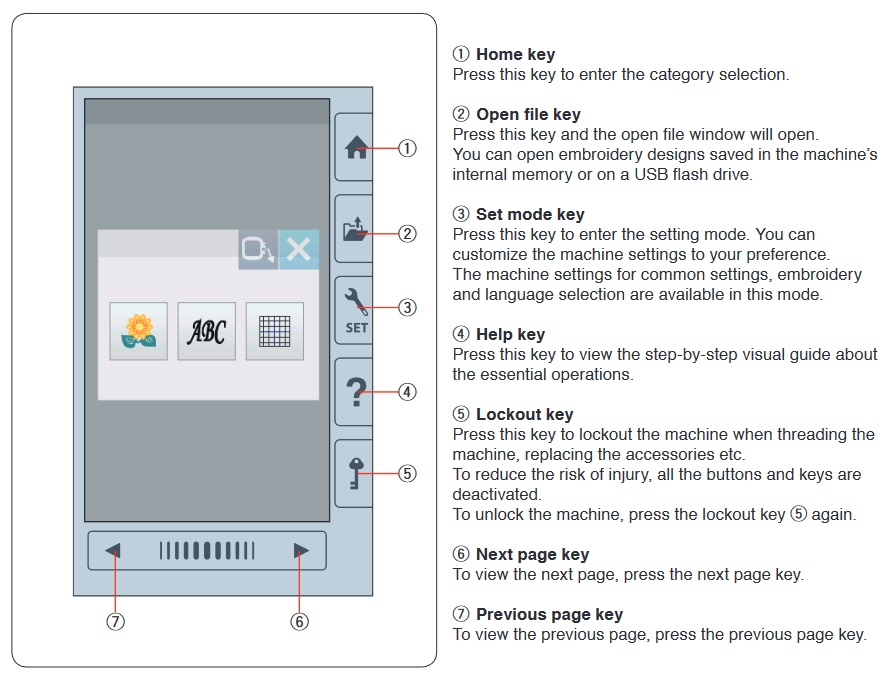
A very important part of using a machine, as we all know, is to know the different options we can use and of course reading the manual...... well, you know! So in this next part i'll show the different options the janome-memory-craft-500e has. So lets begin:
In this first section we find general options of the machine.
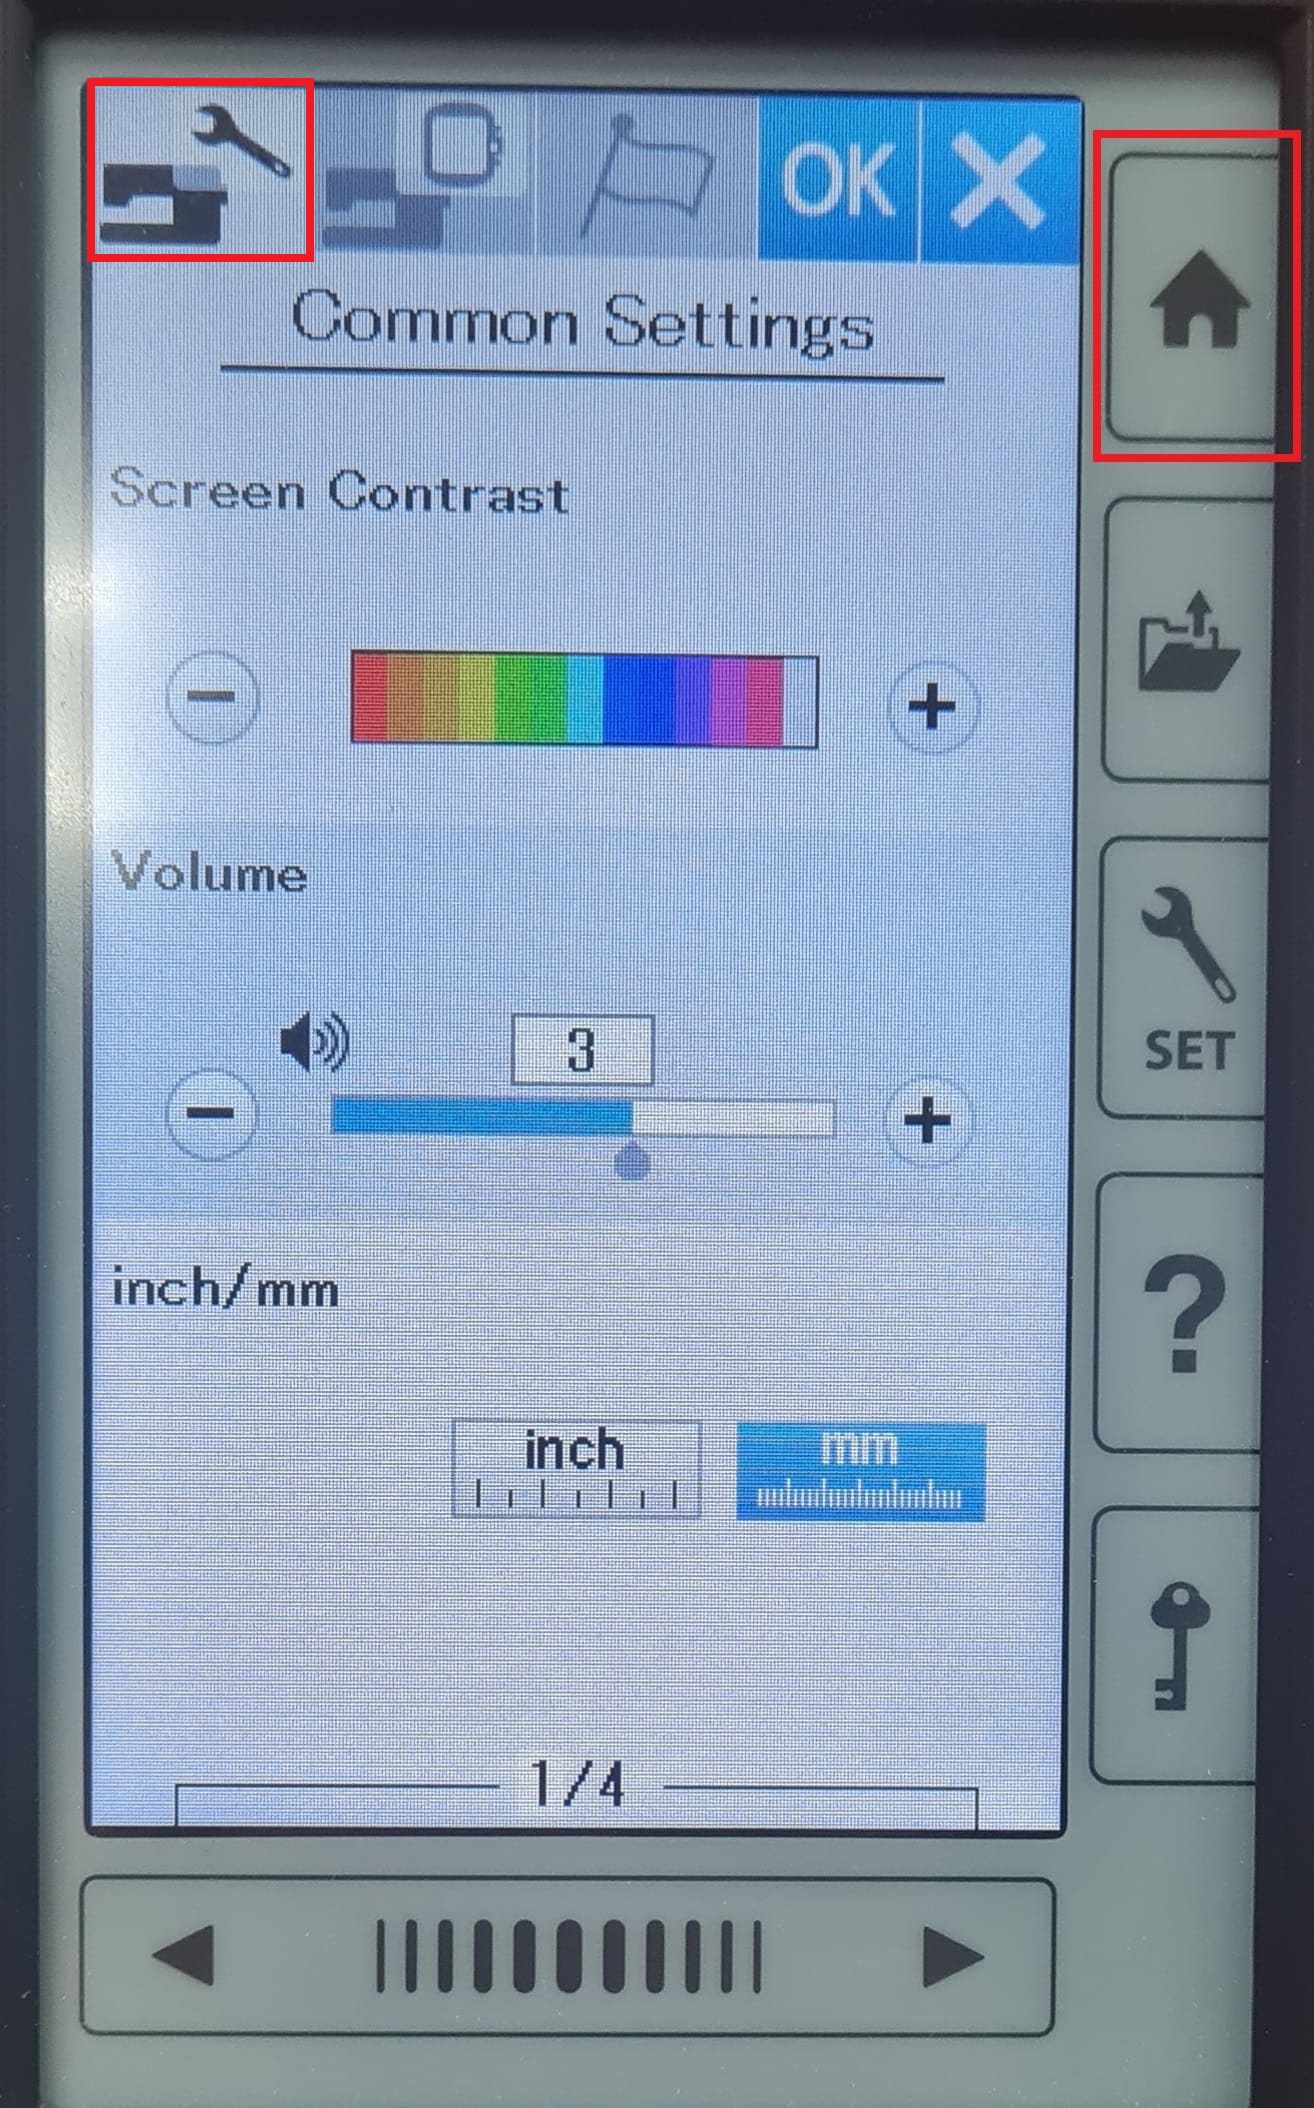
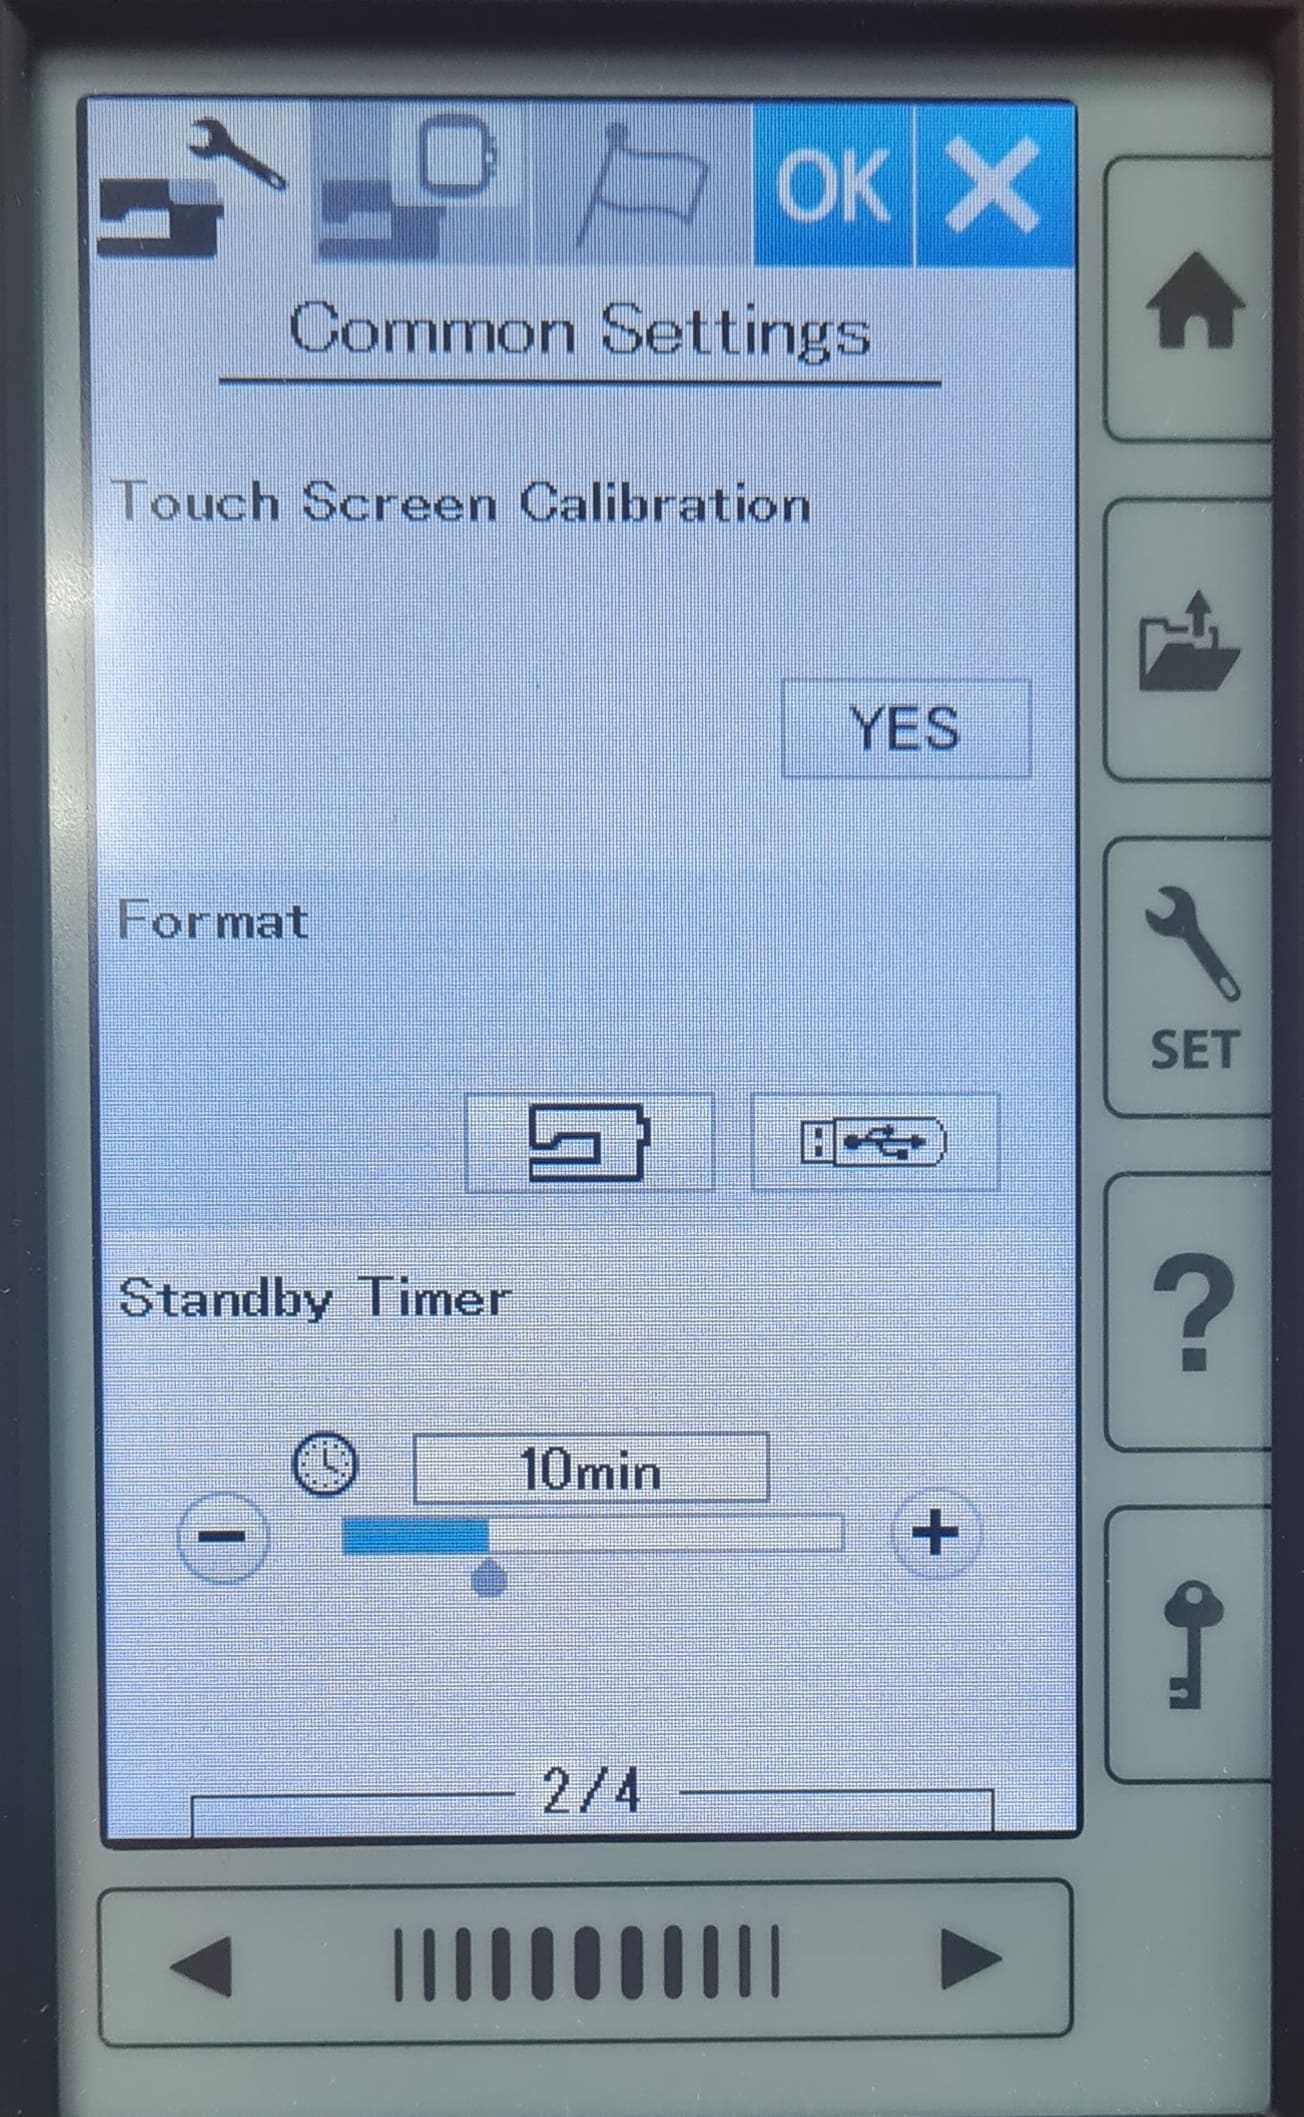
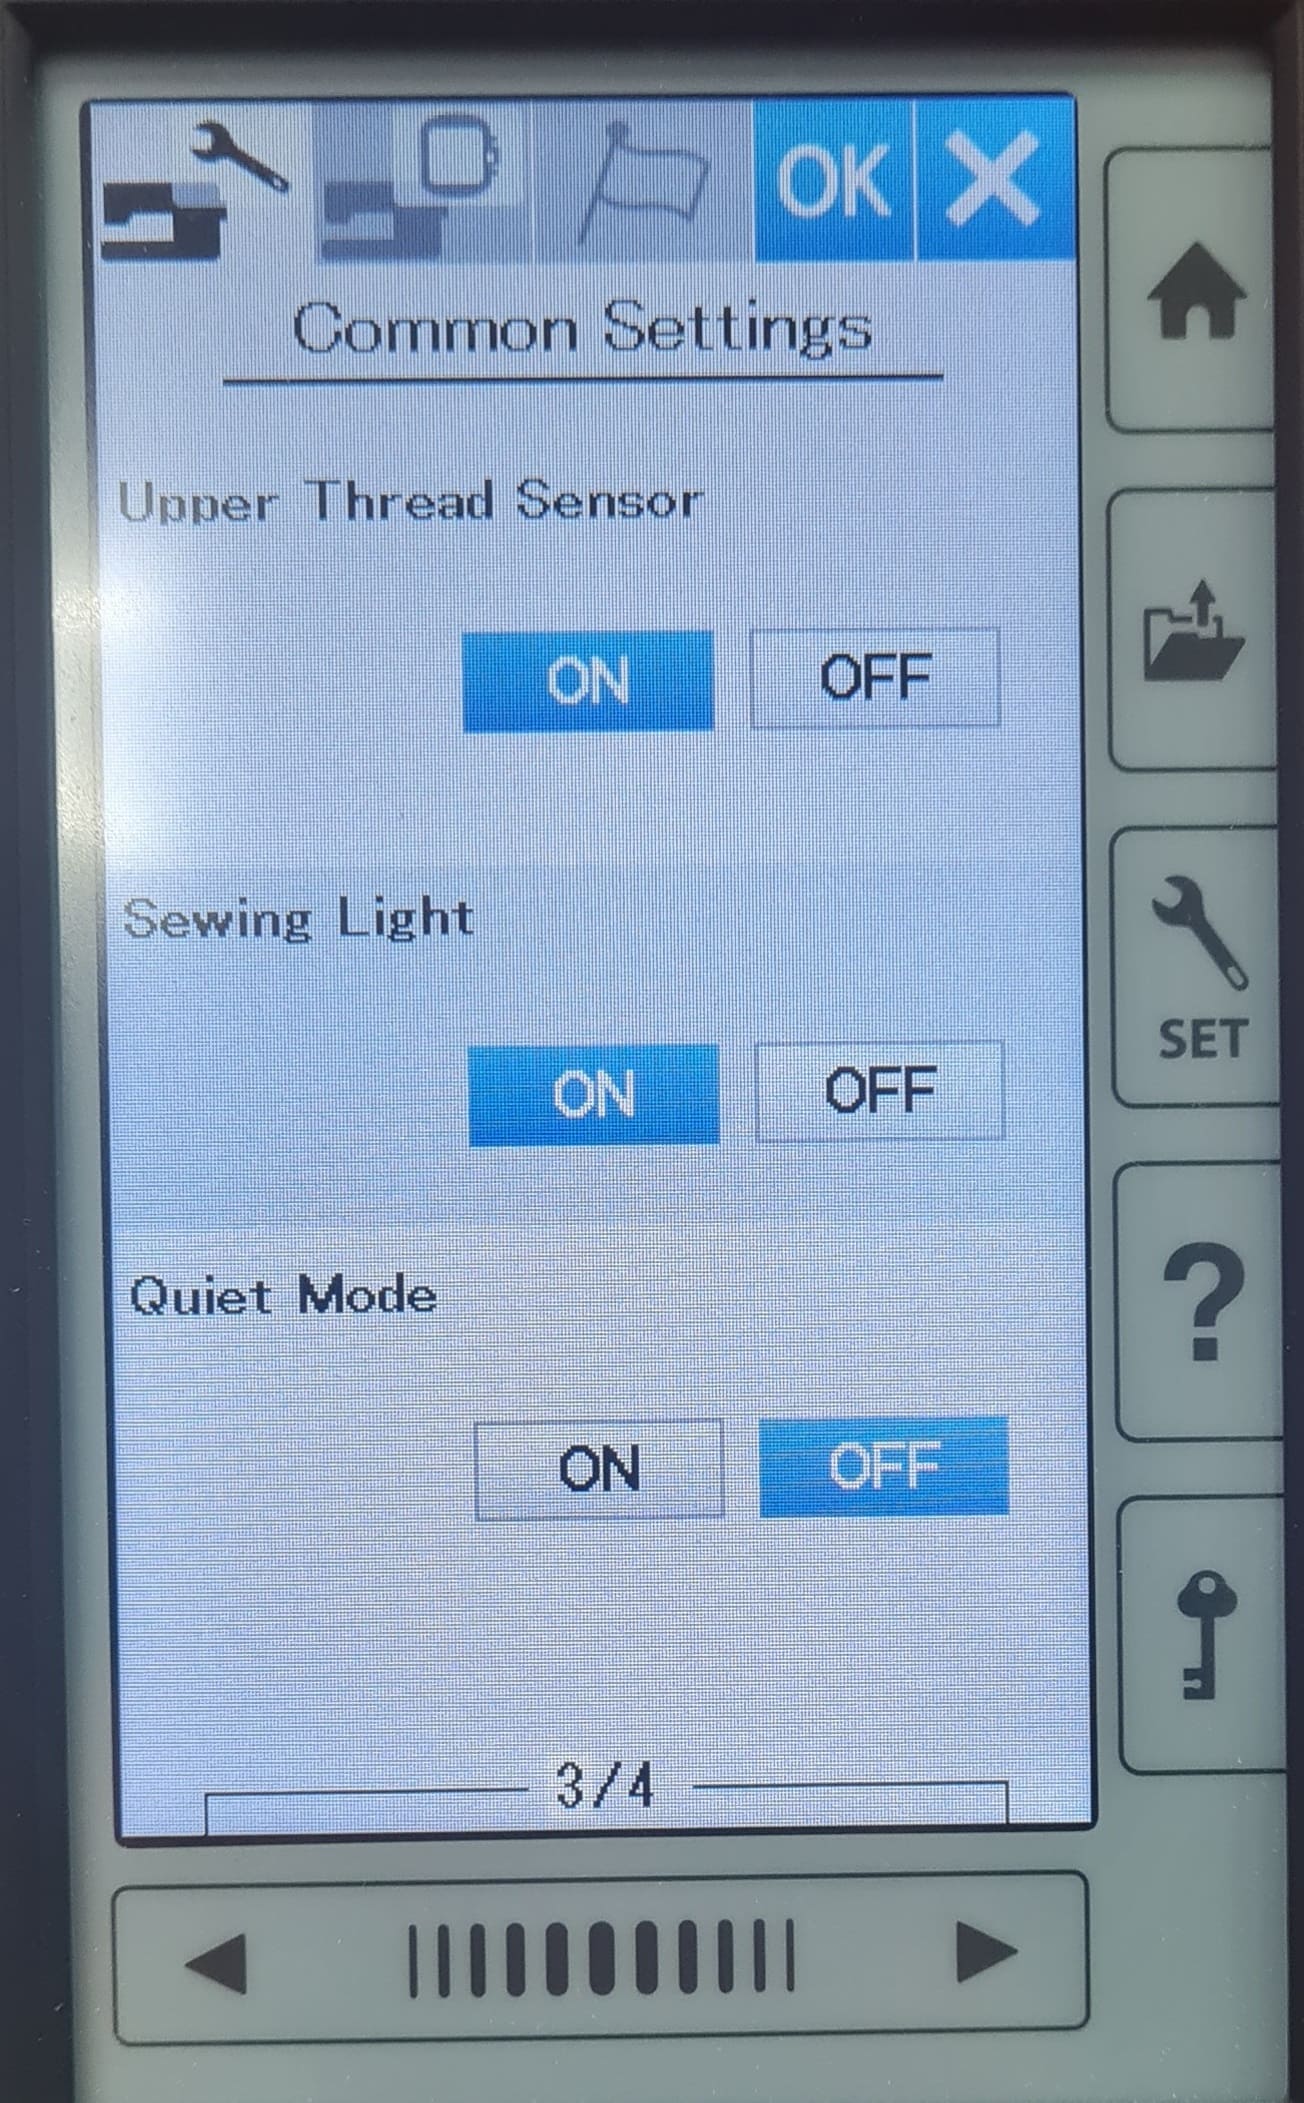
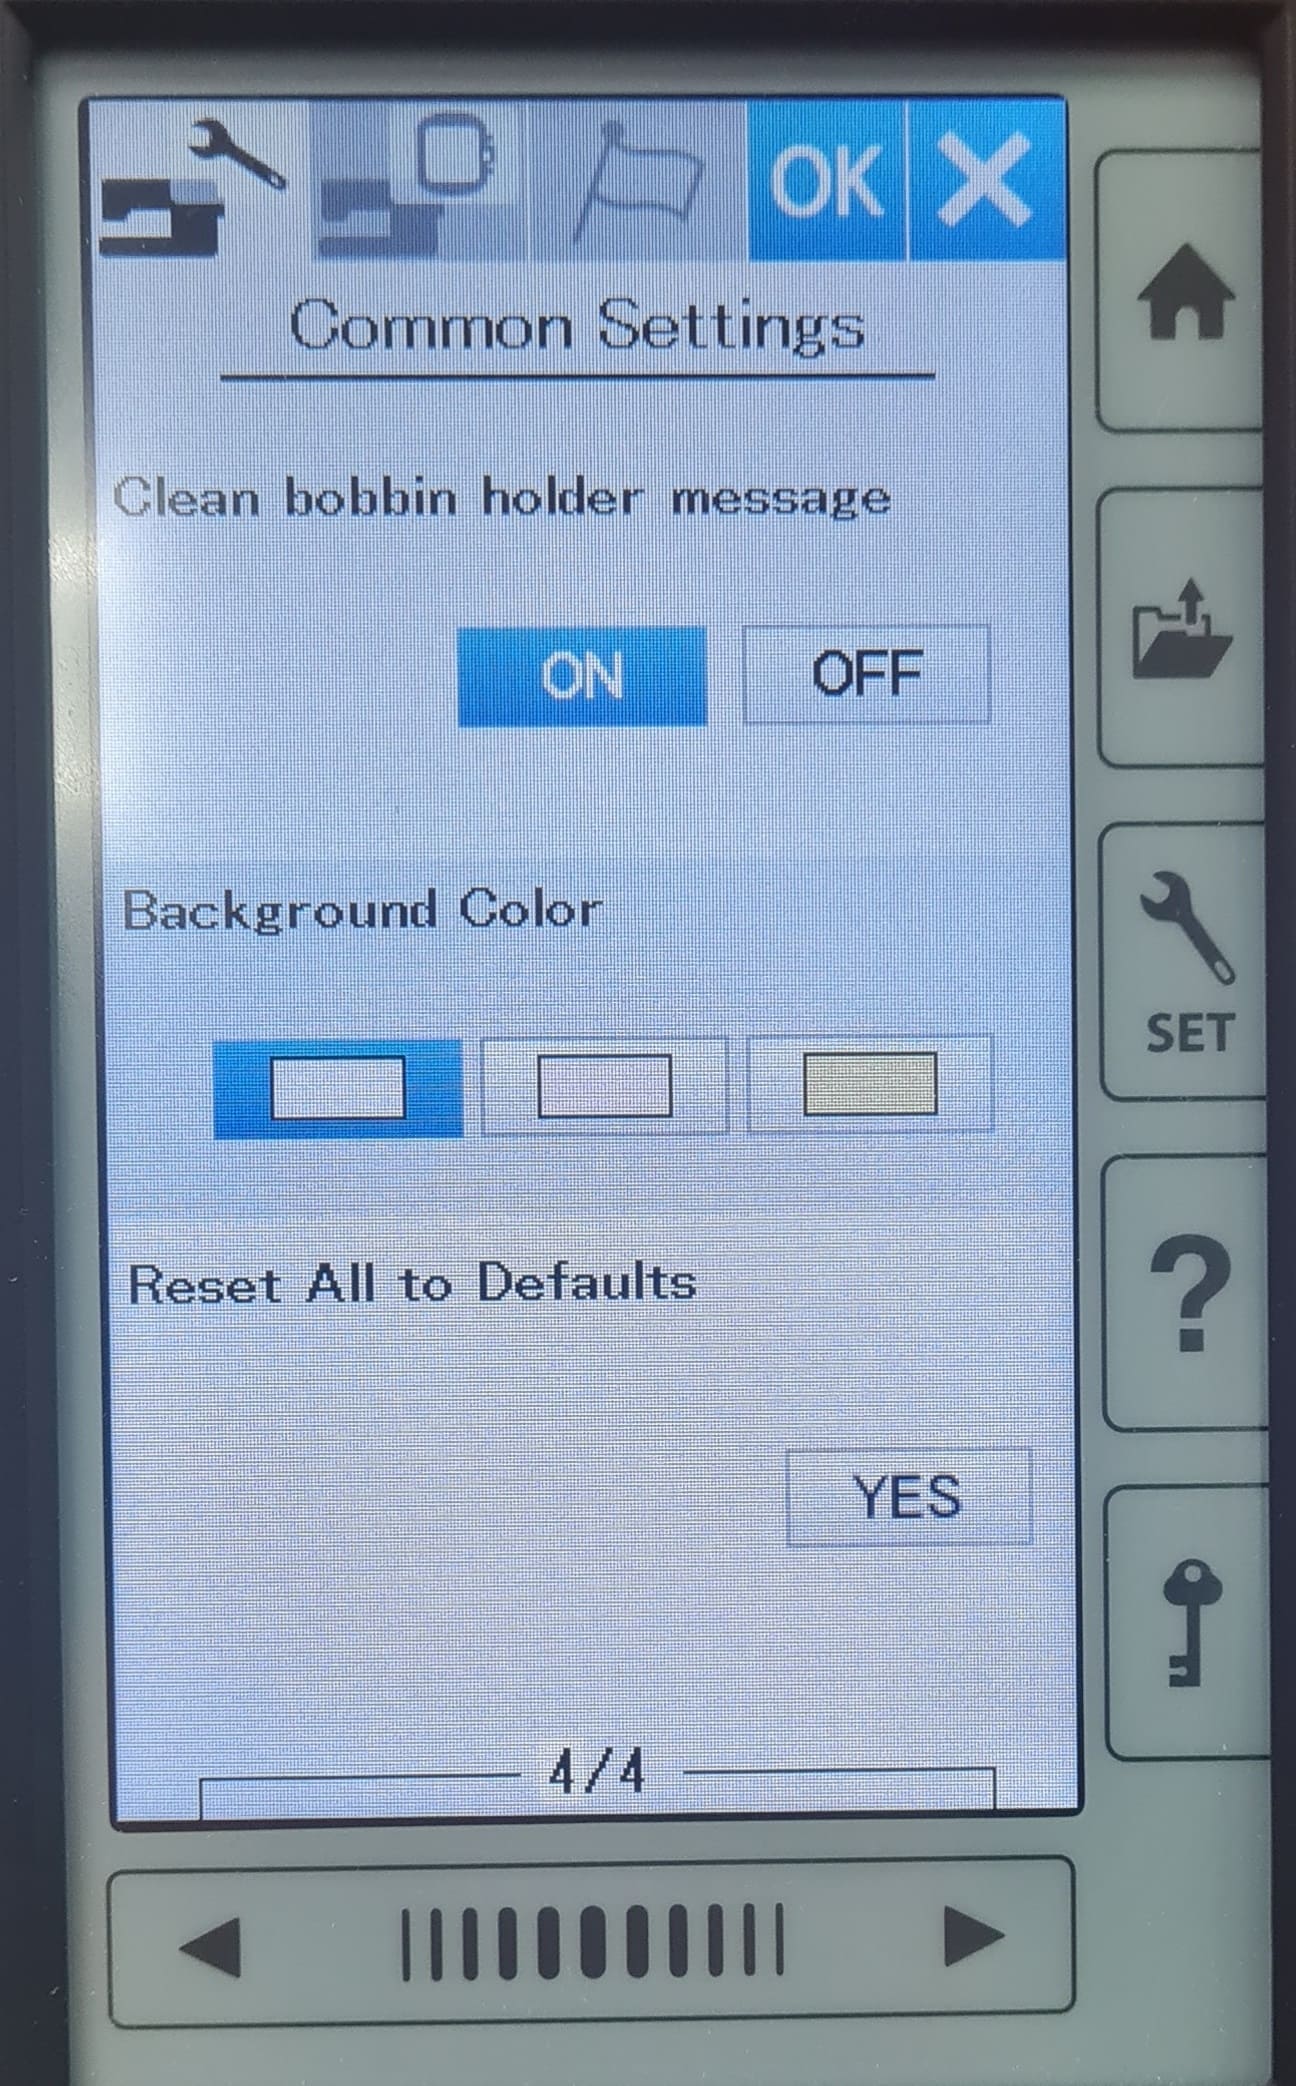
In this part you'll find options that can be modify and sets how the machines will work. So we got to be careful. This are the options:
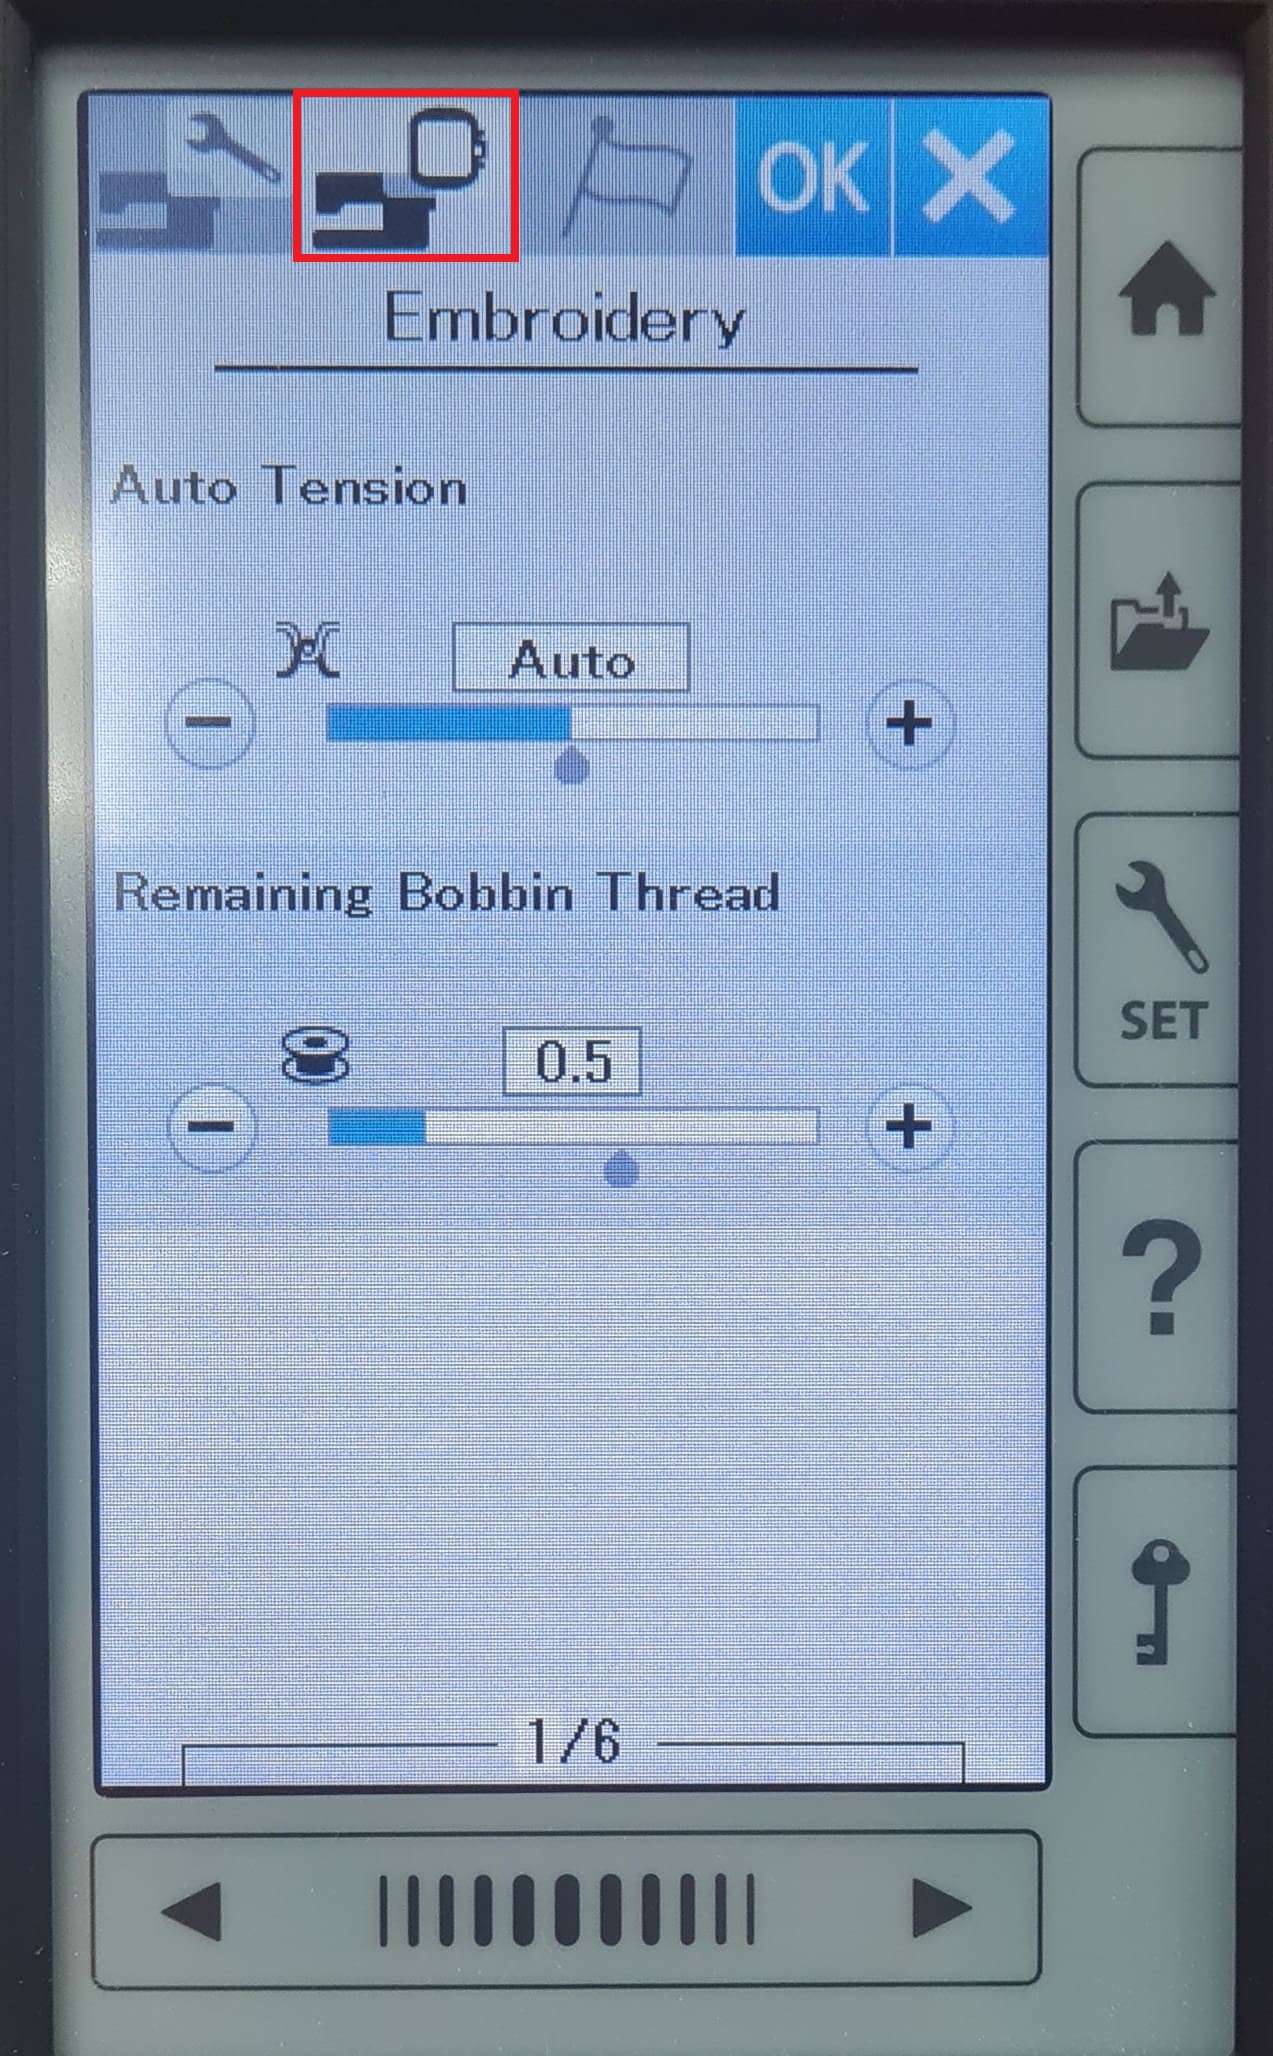
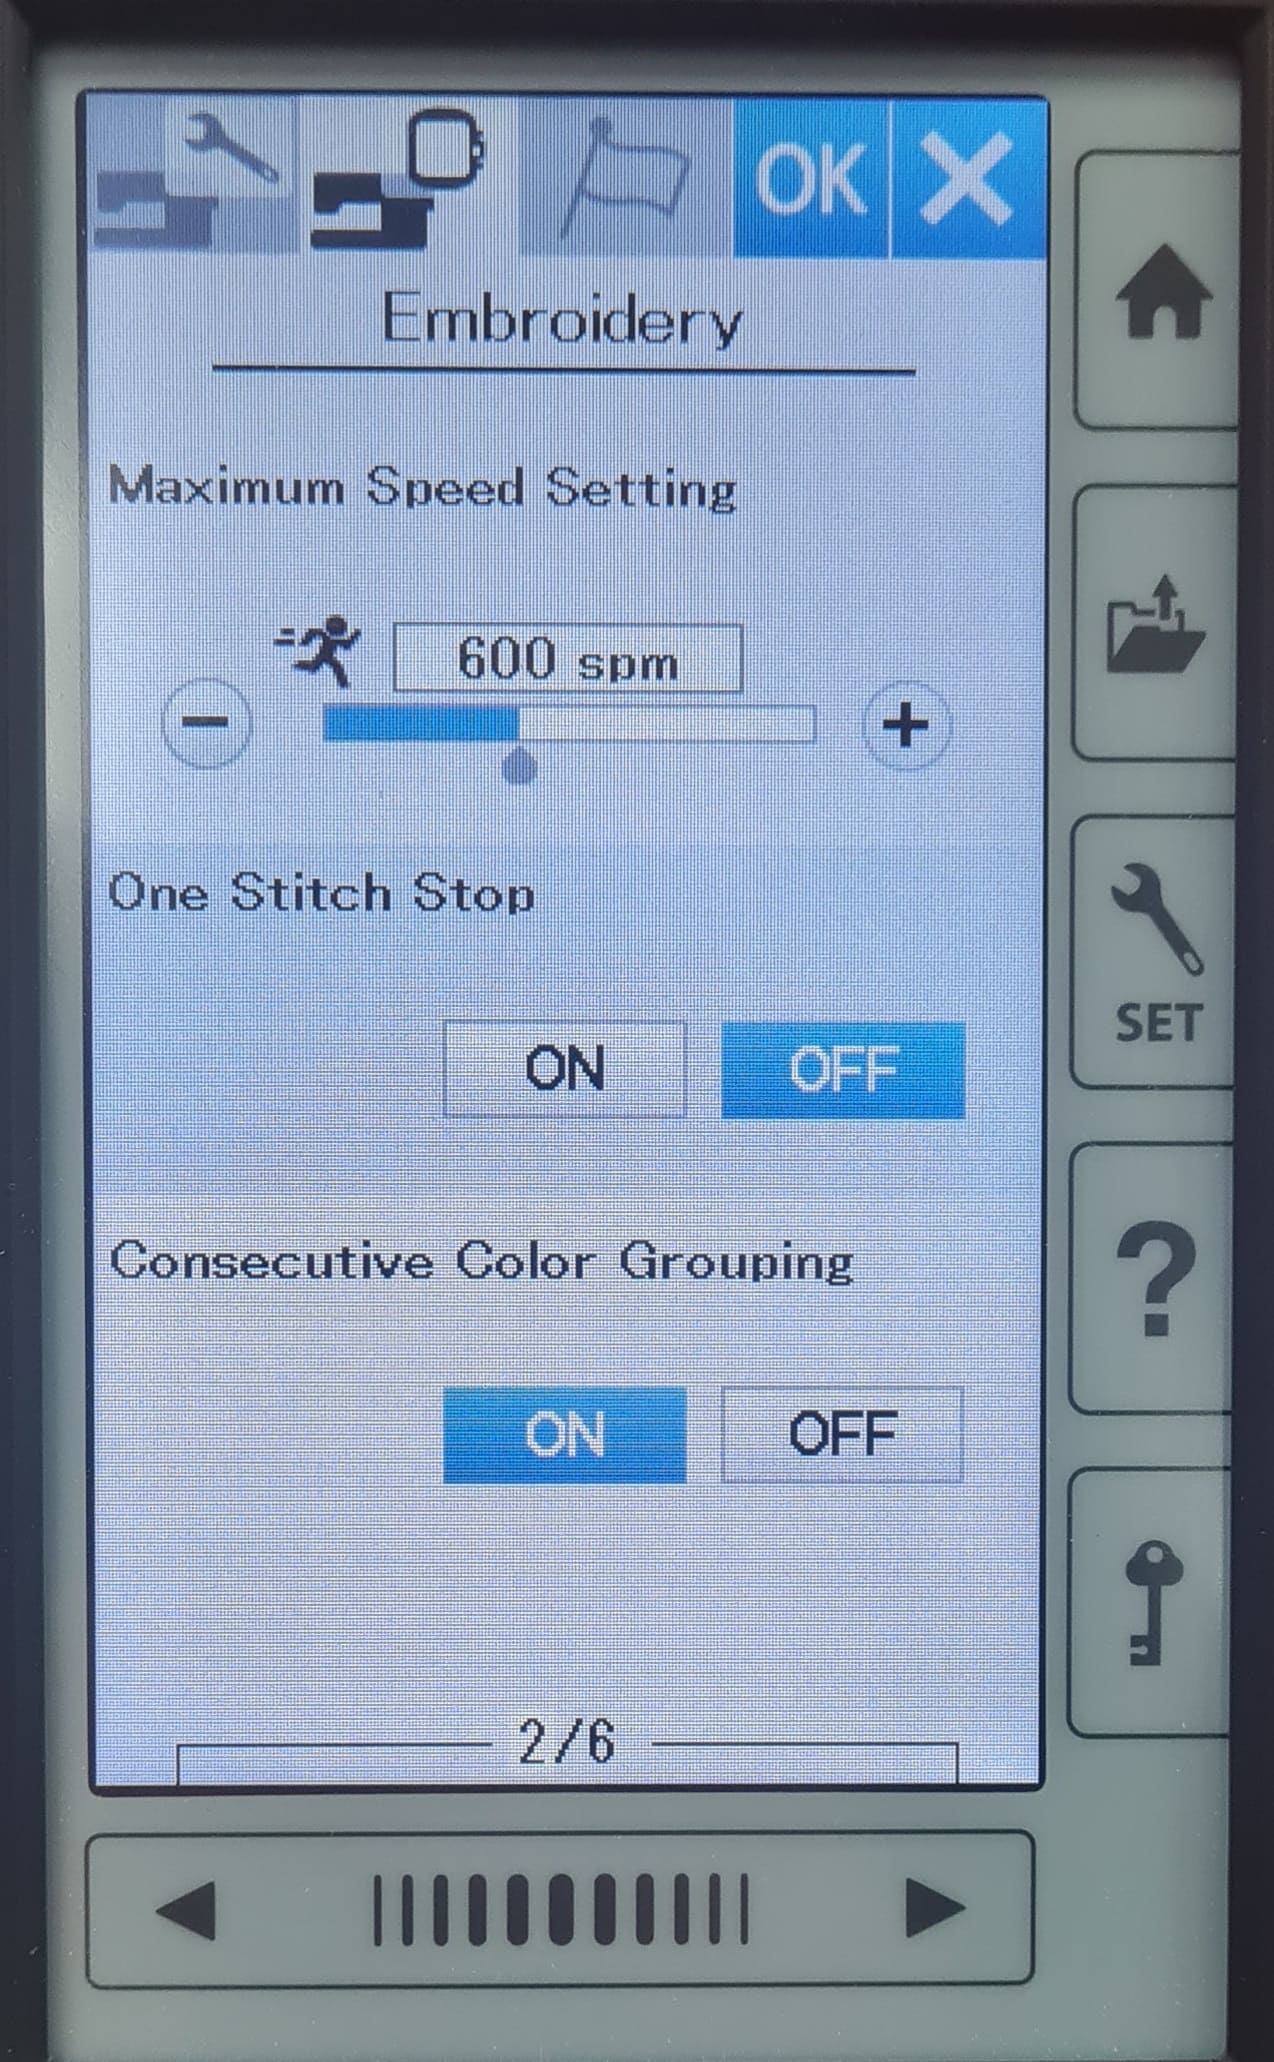
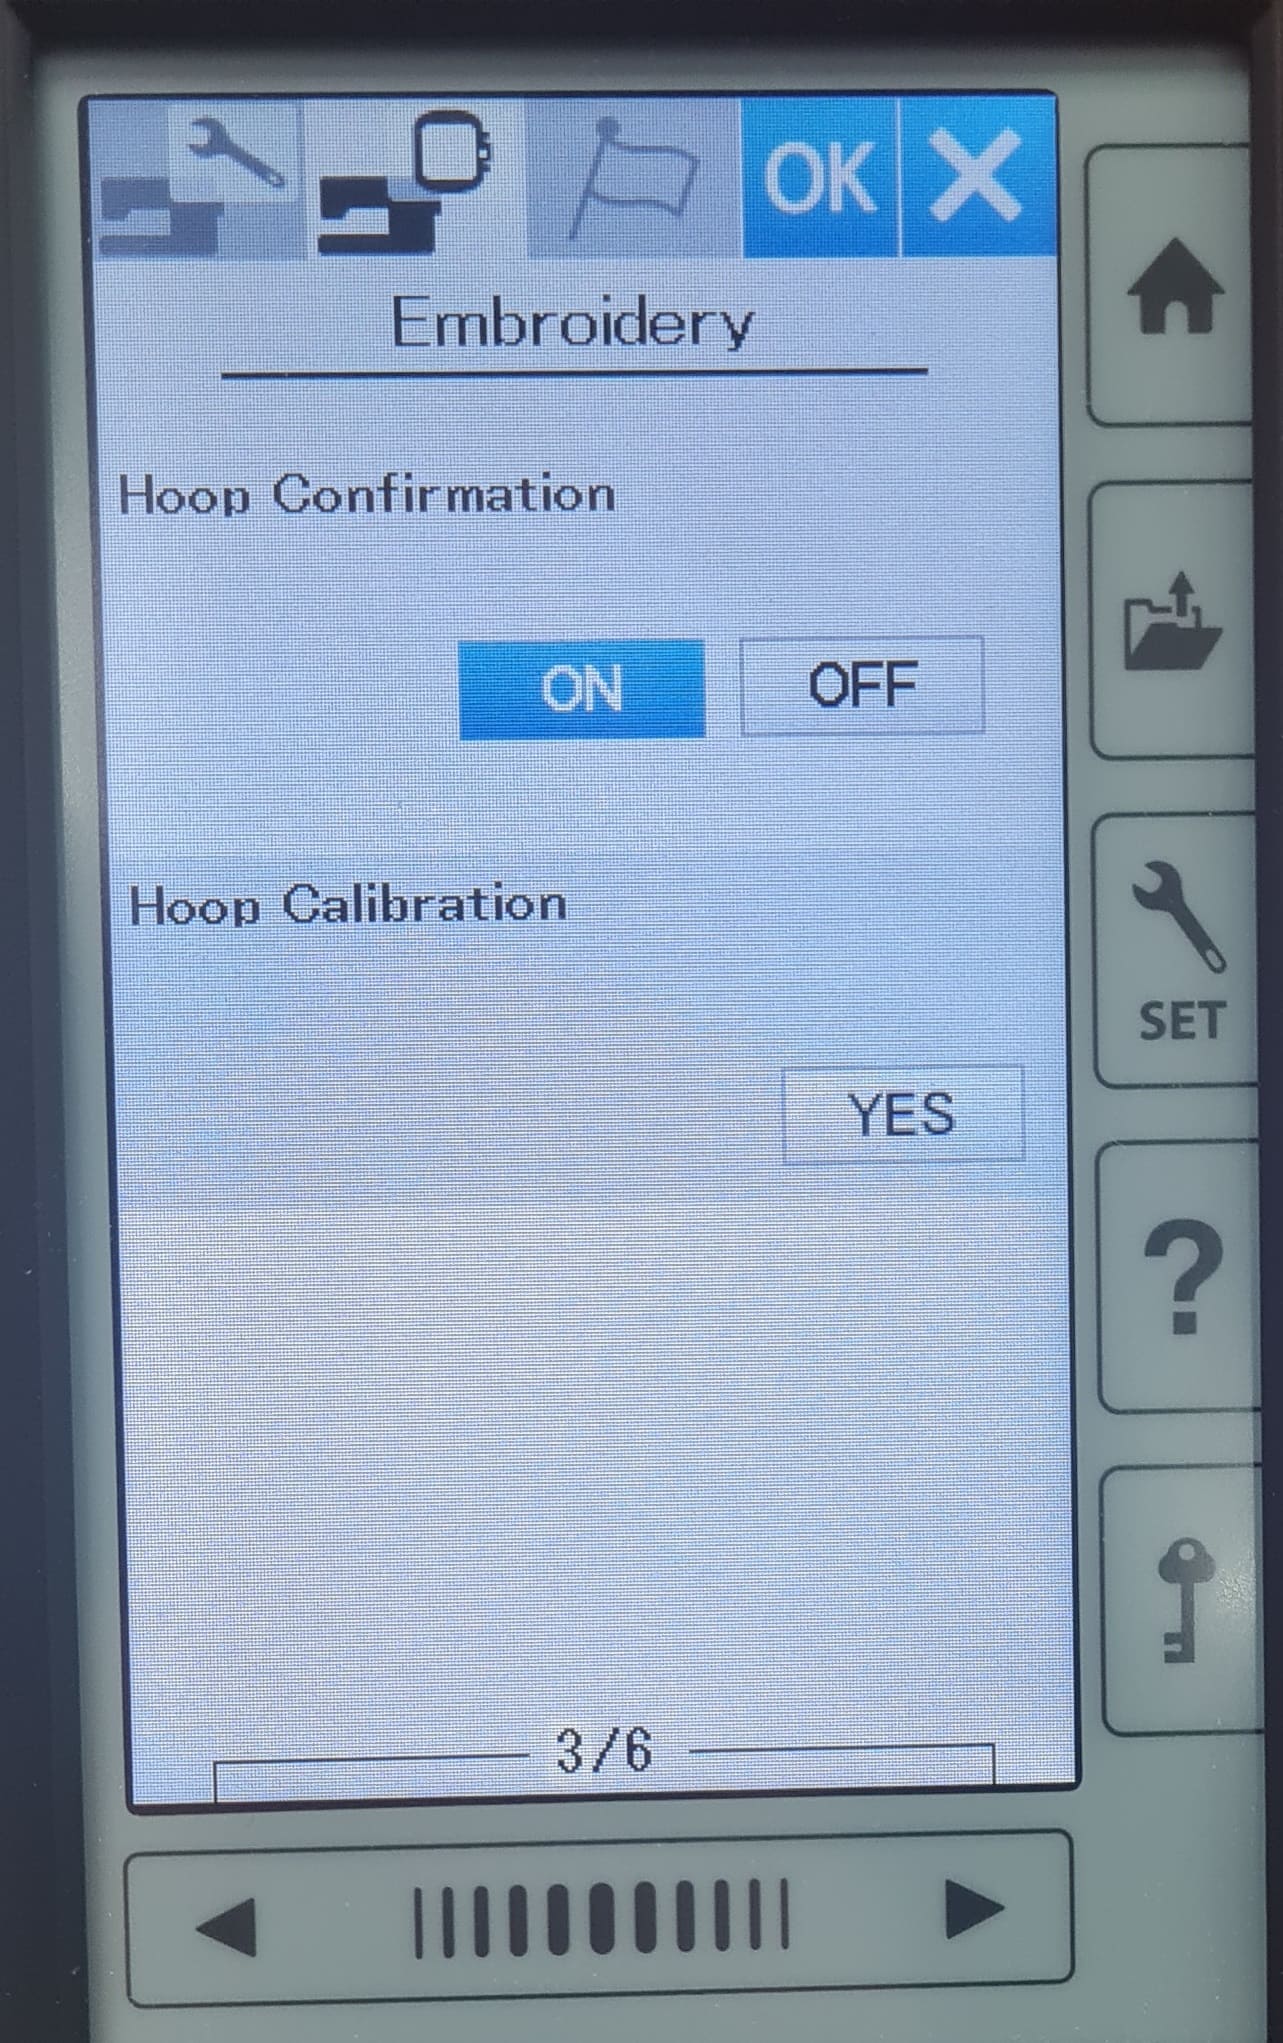
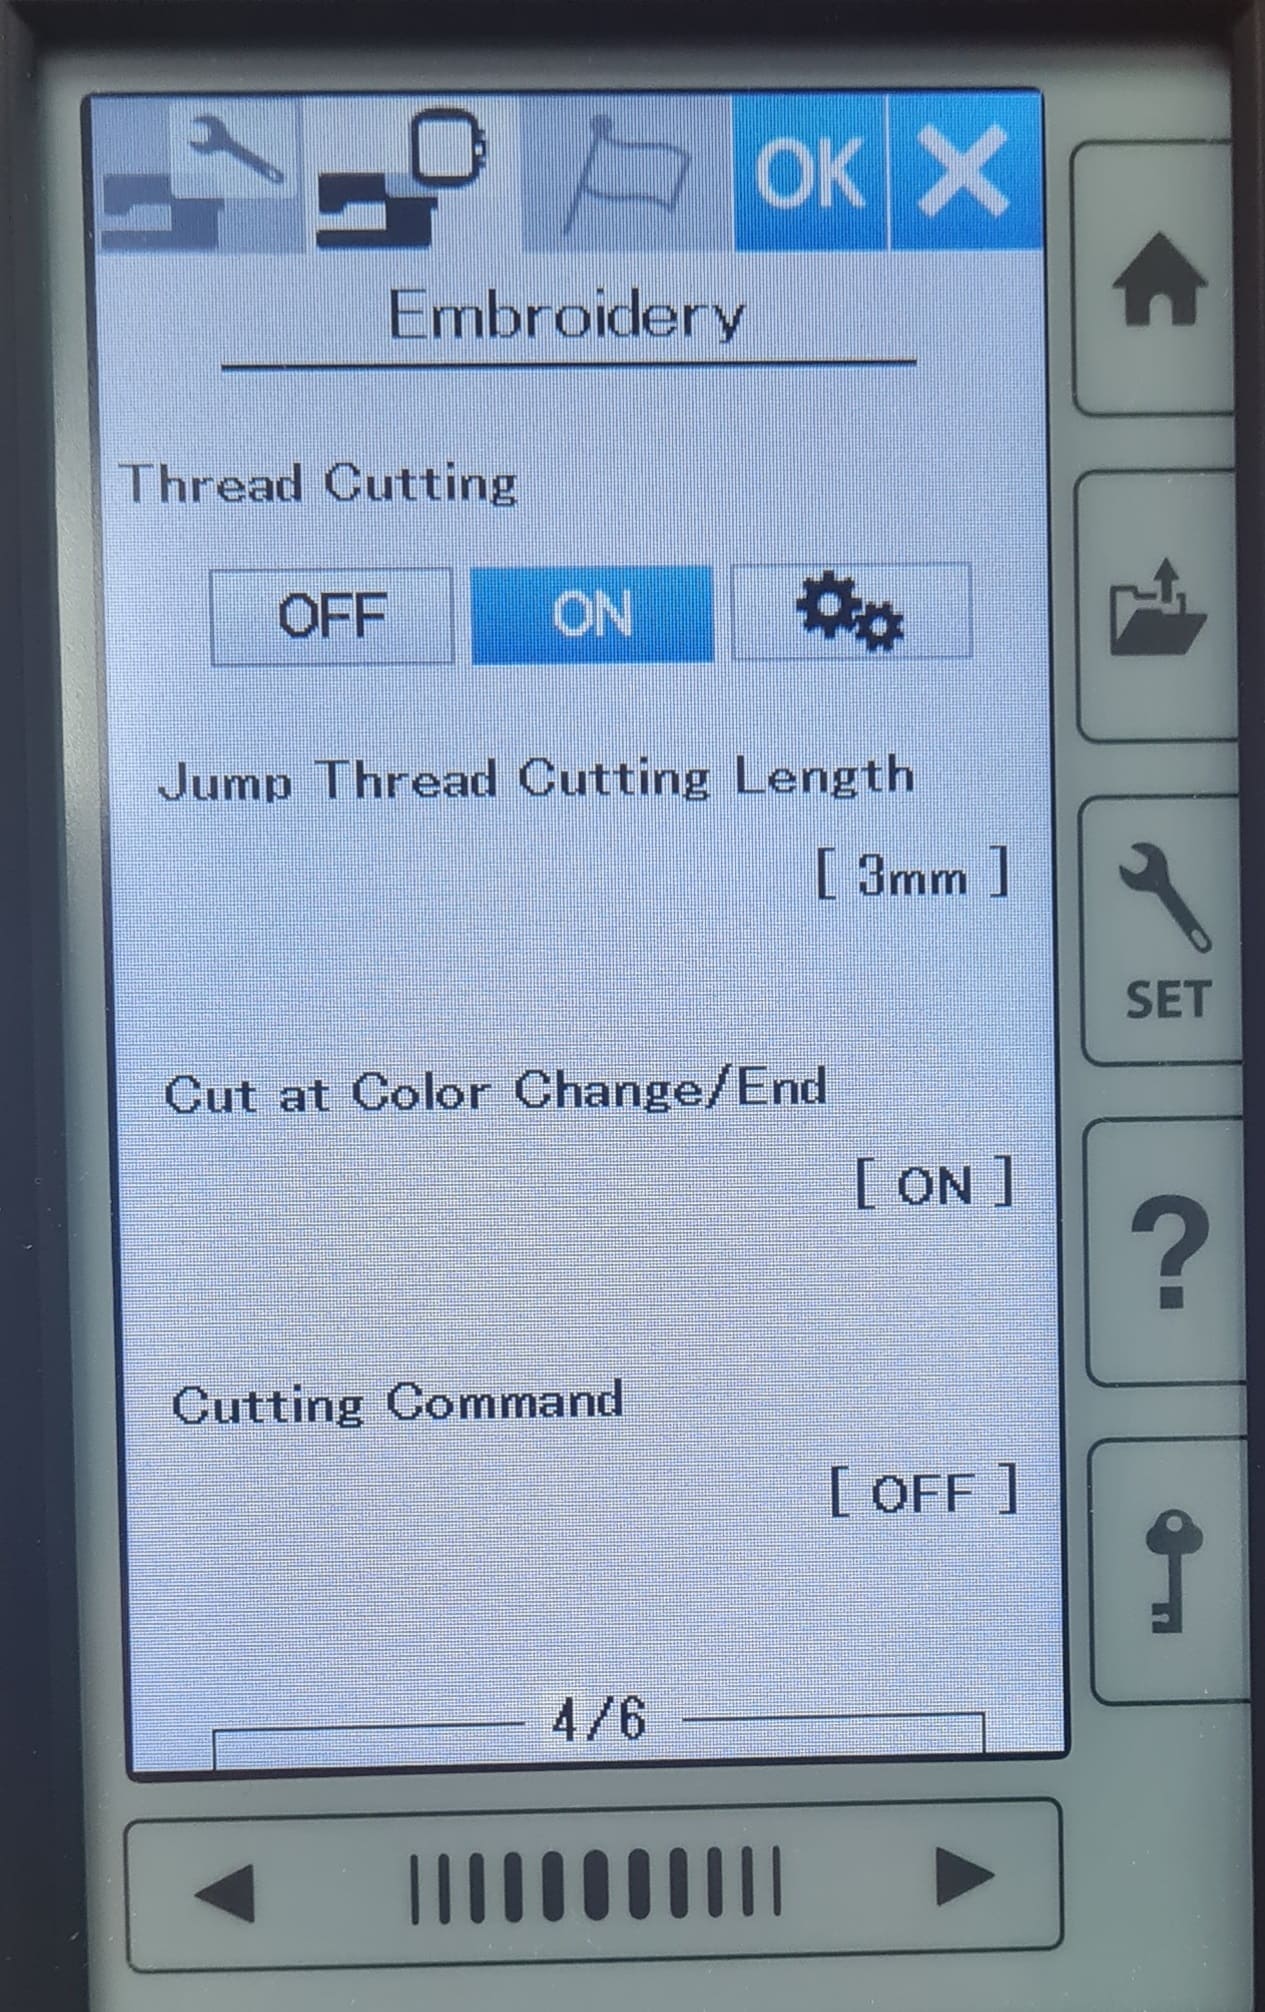
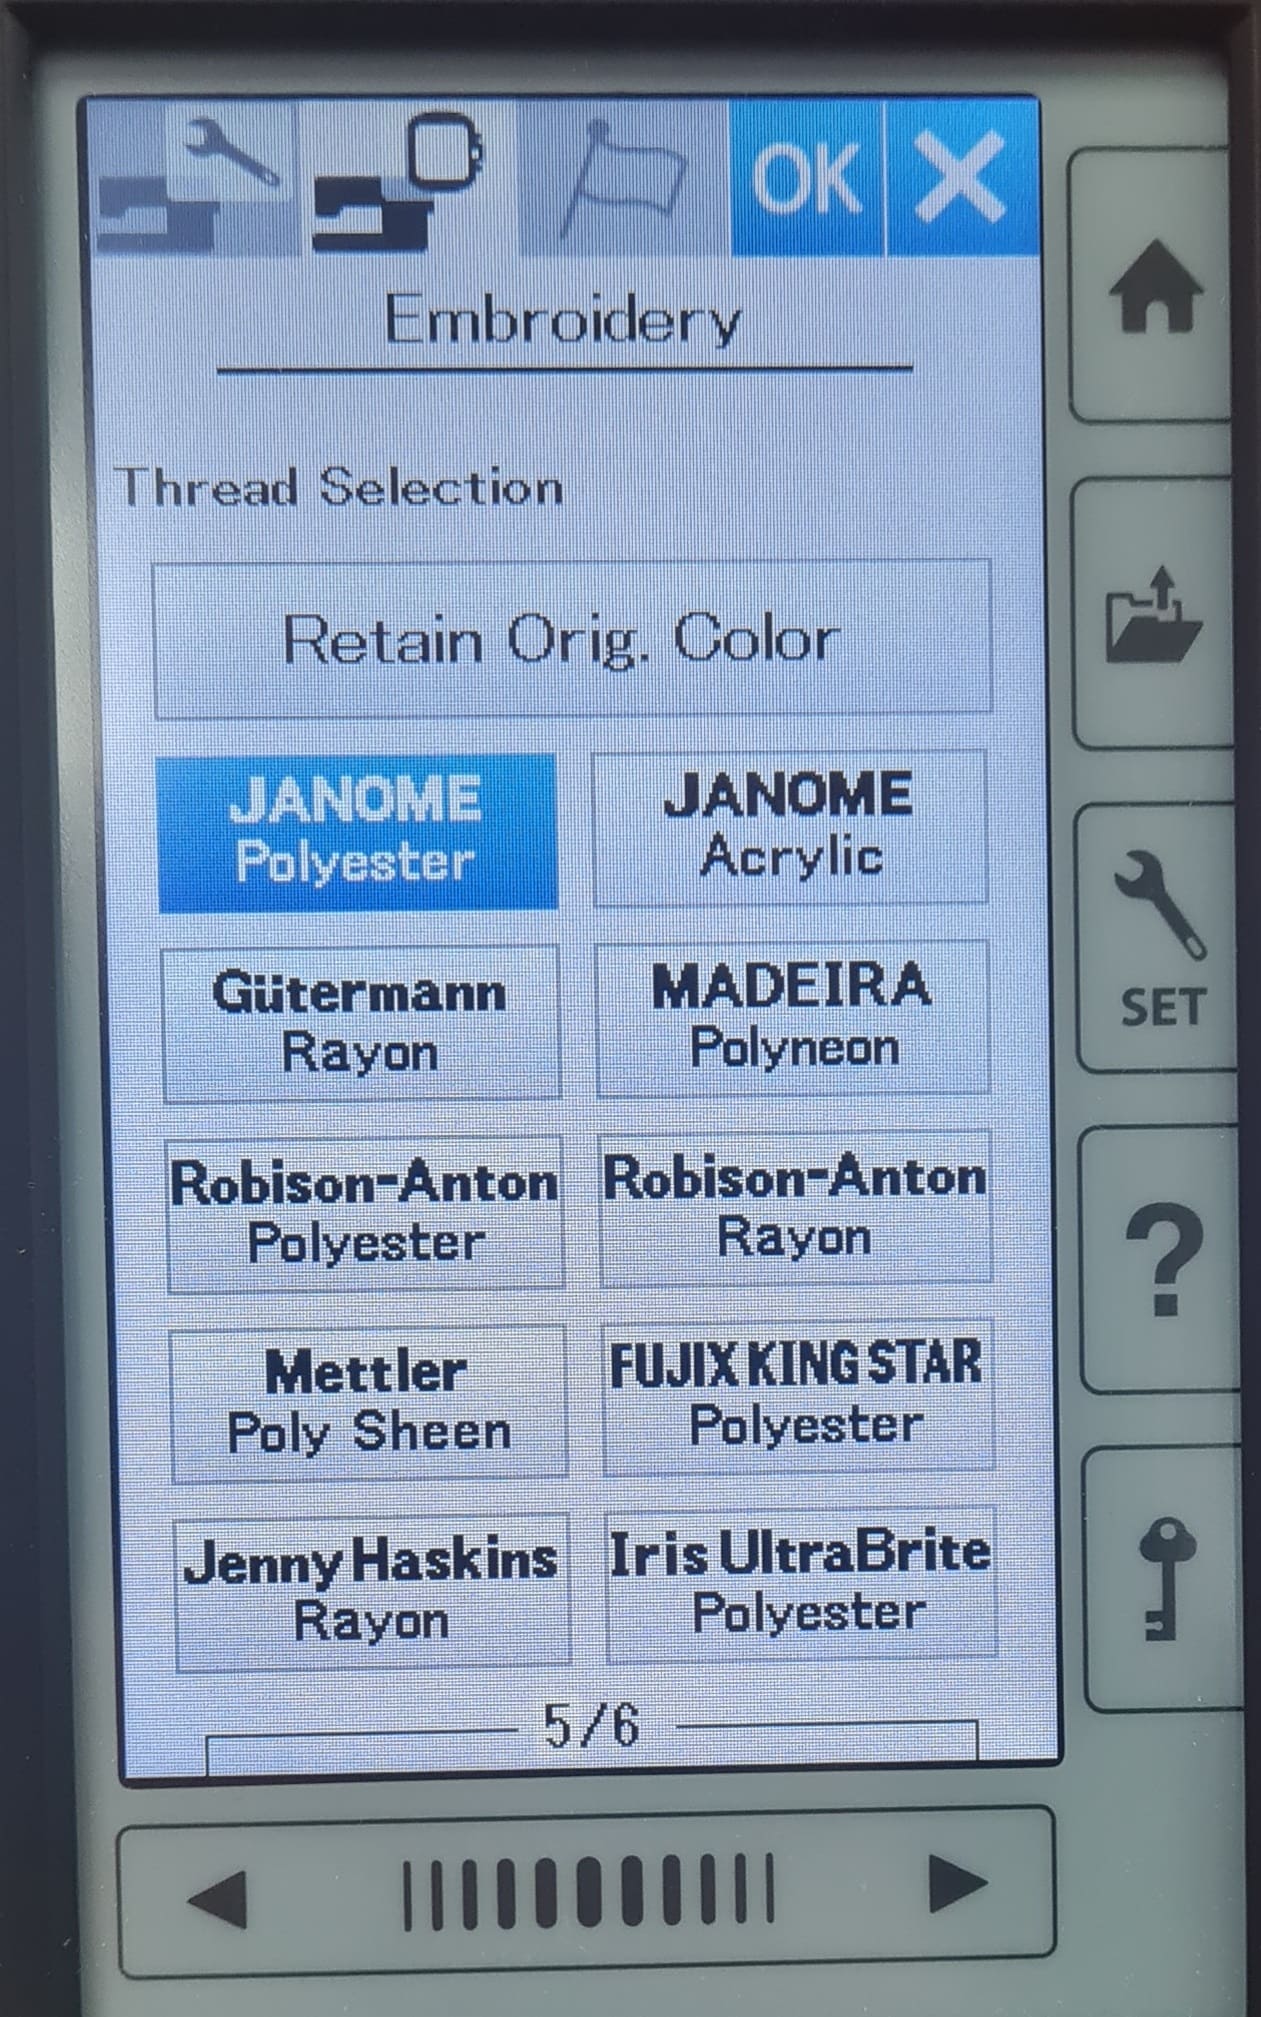
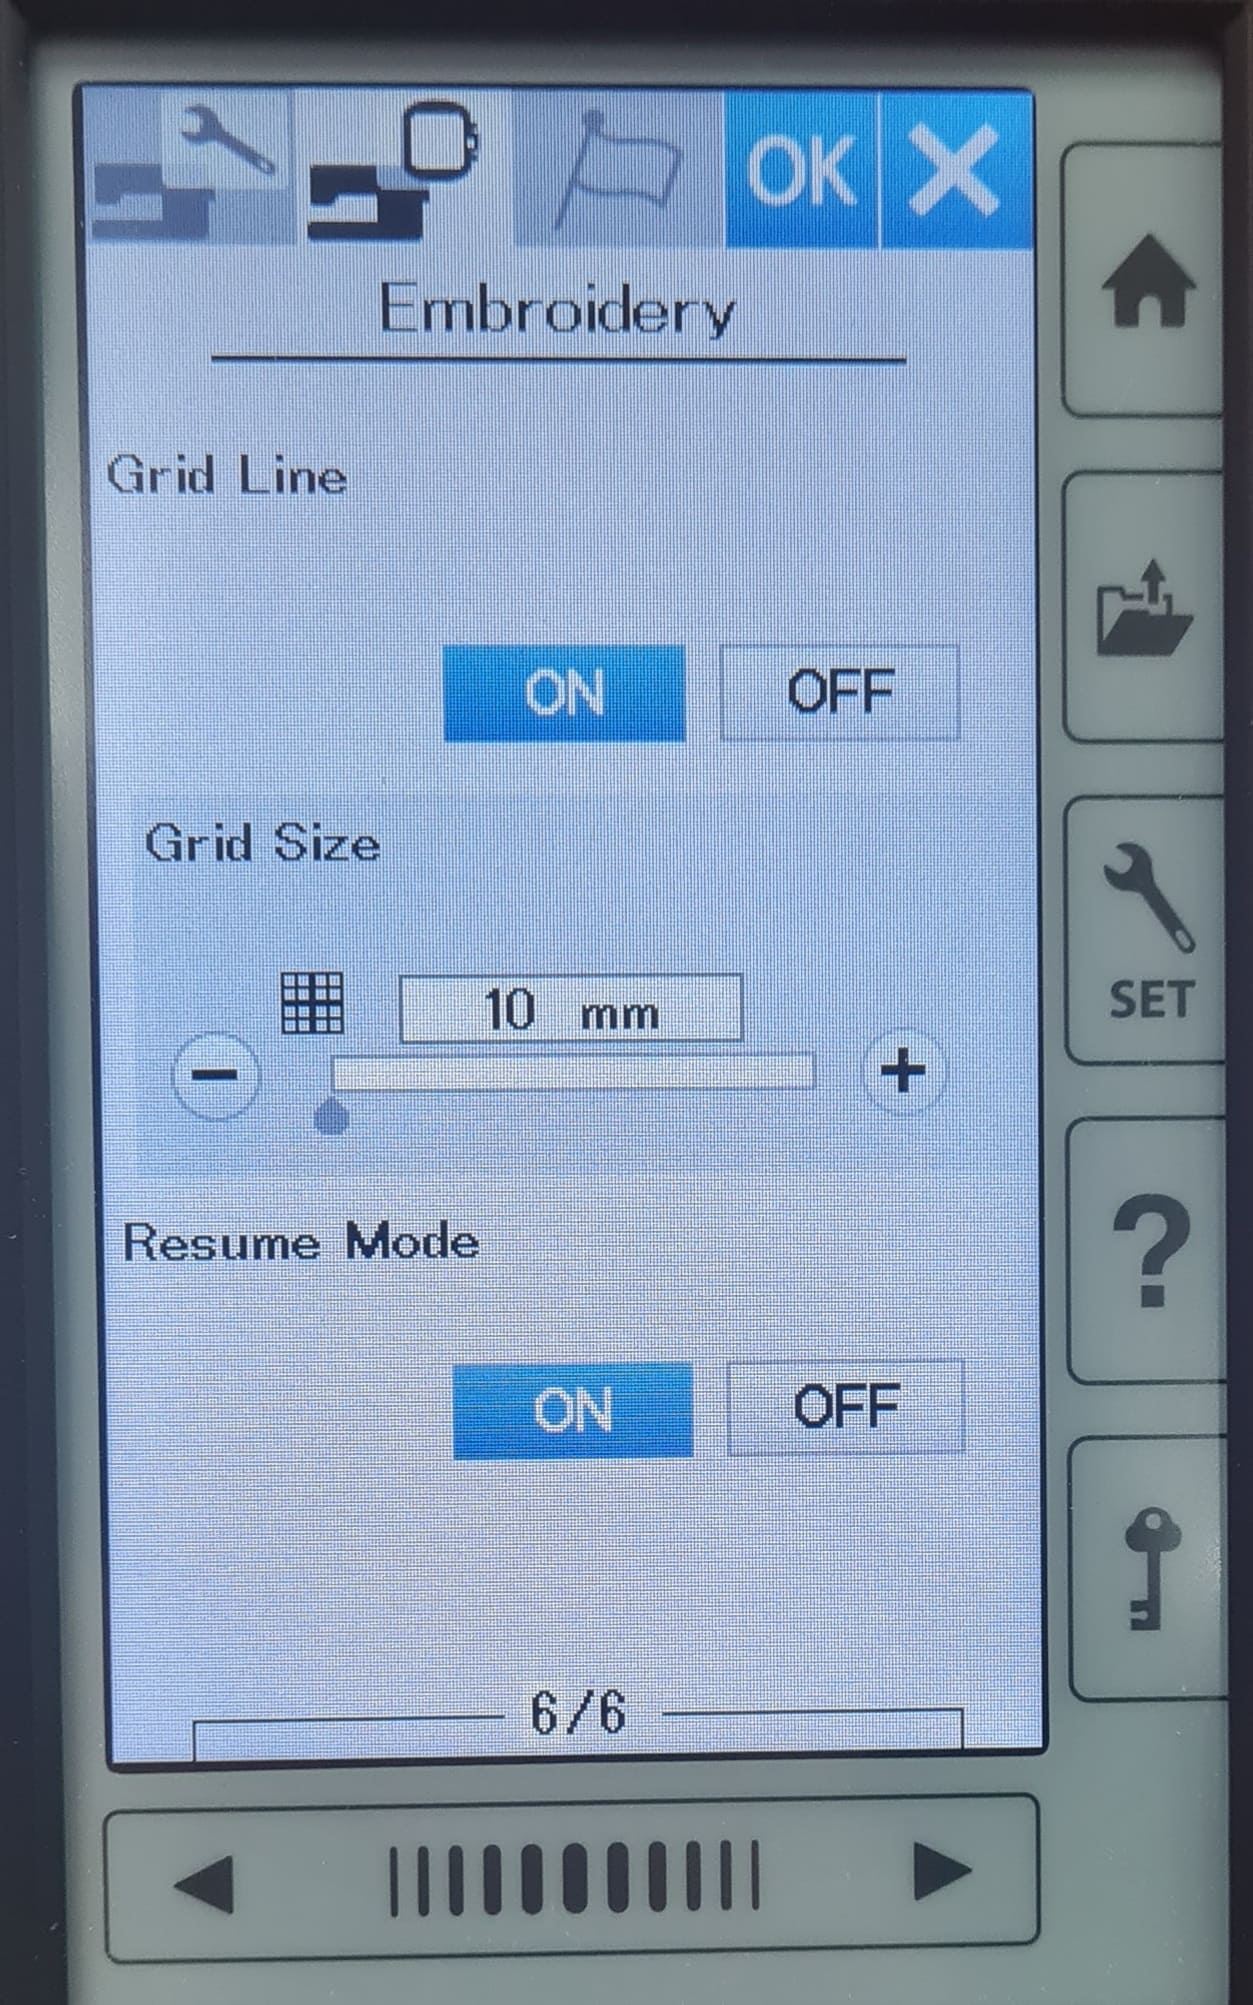
And in the next images you'll see other options. It's important to know them:
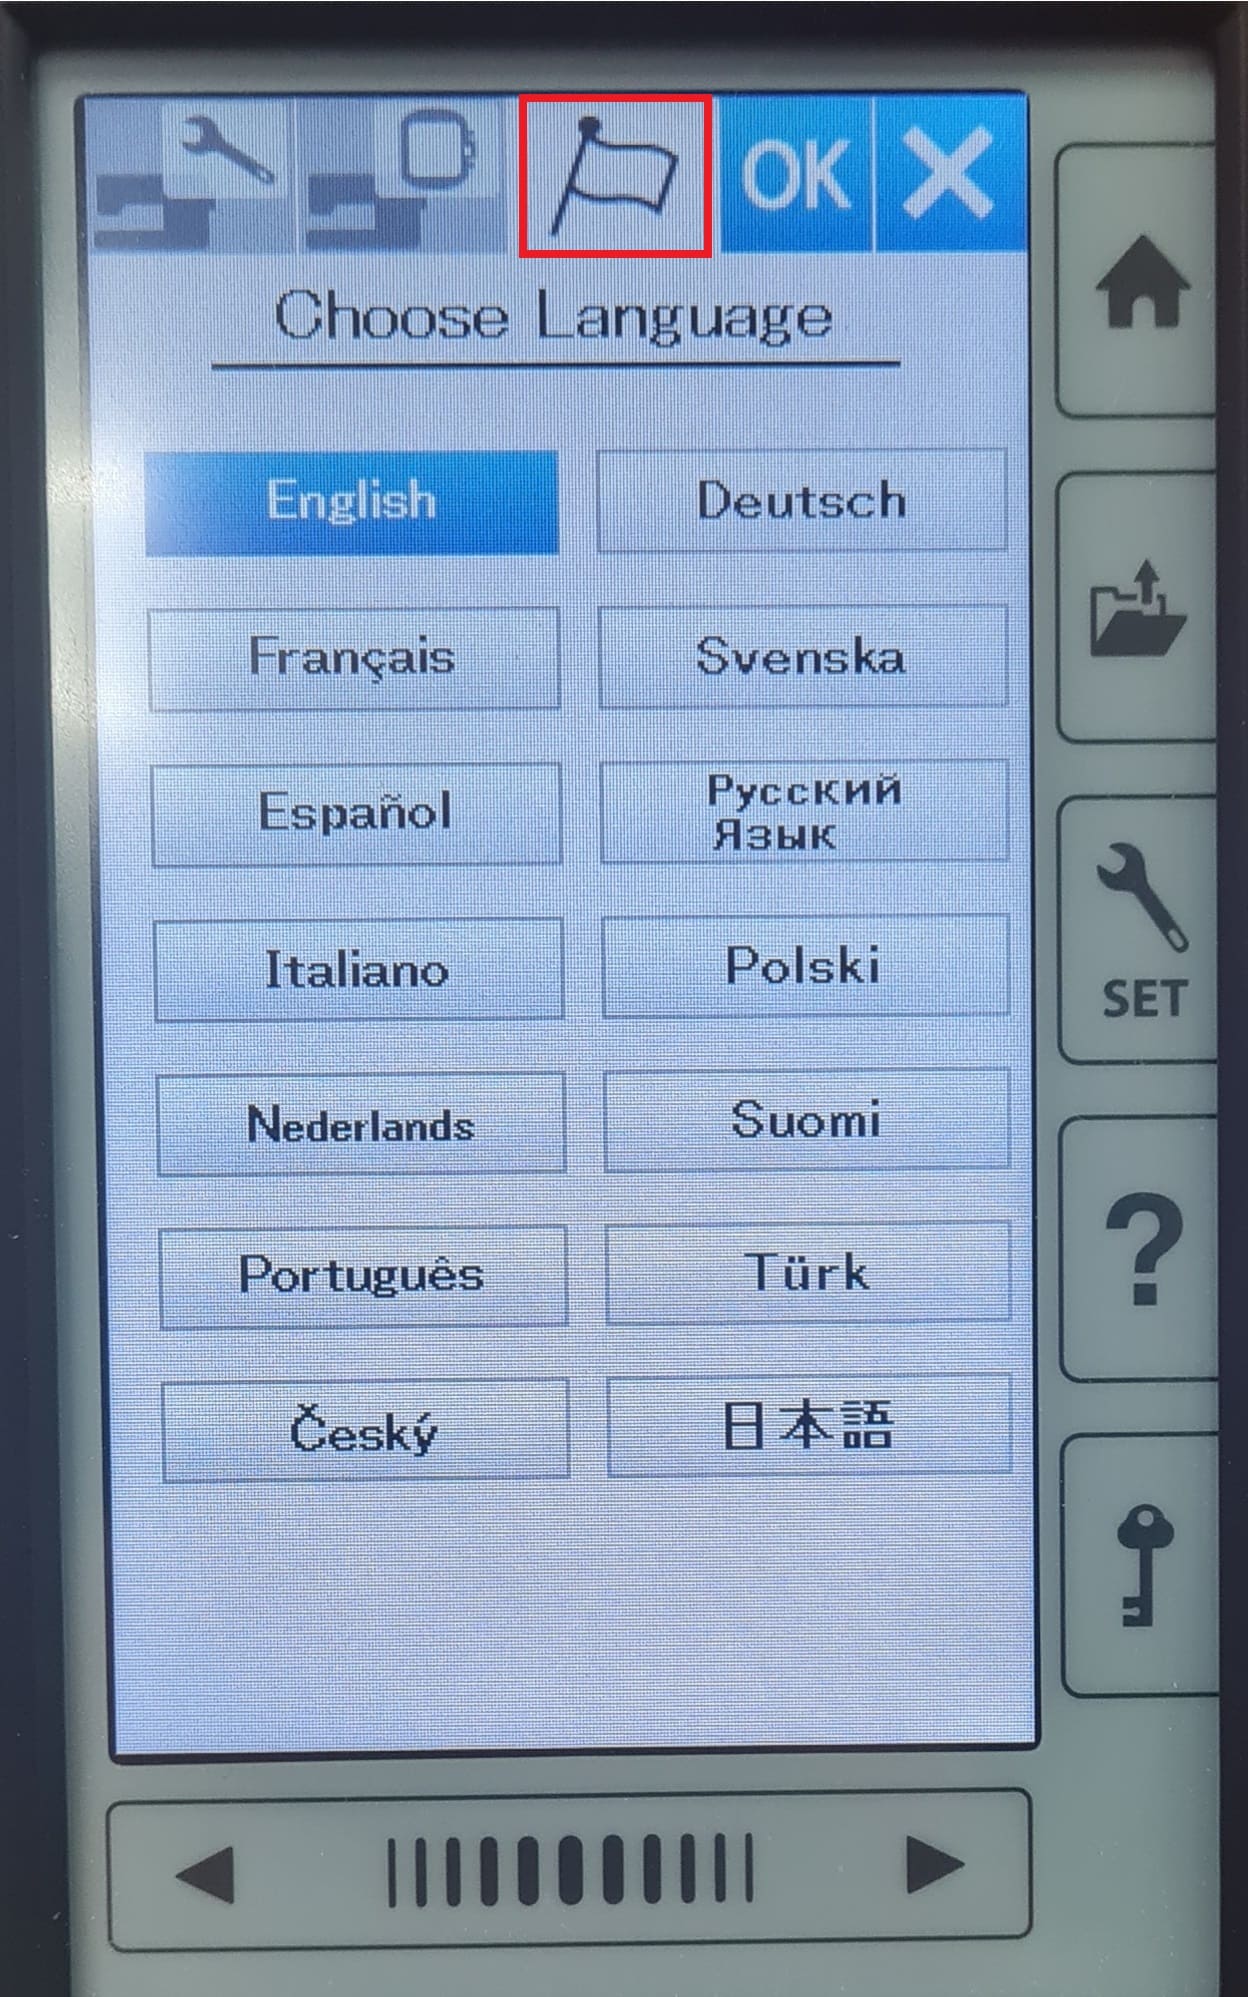
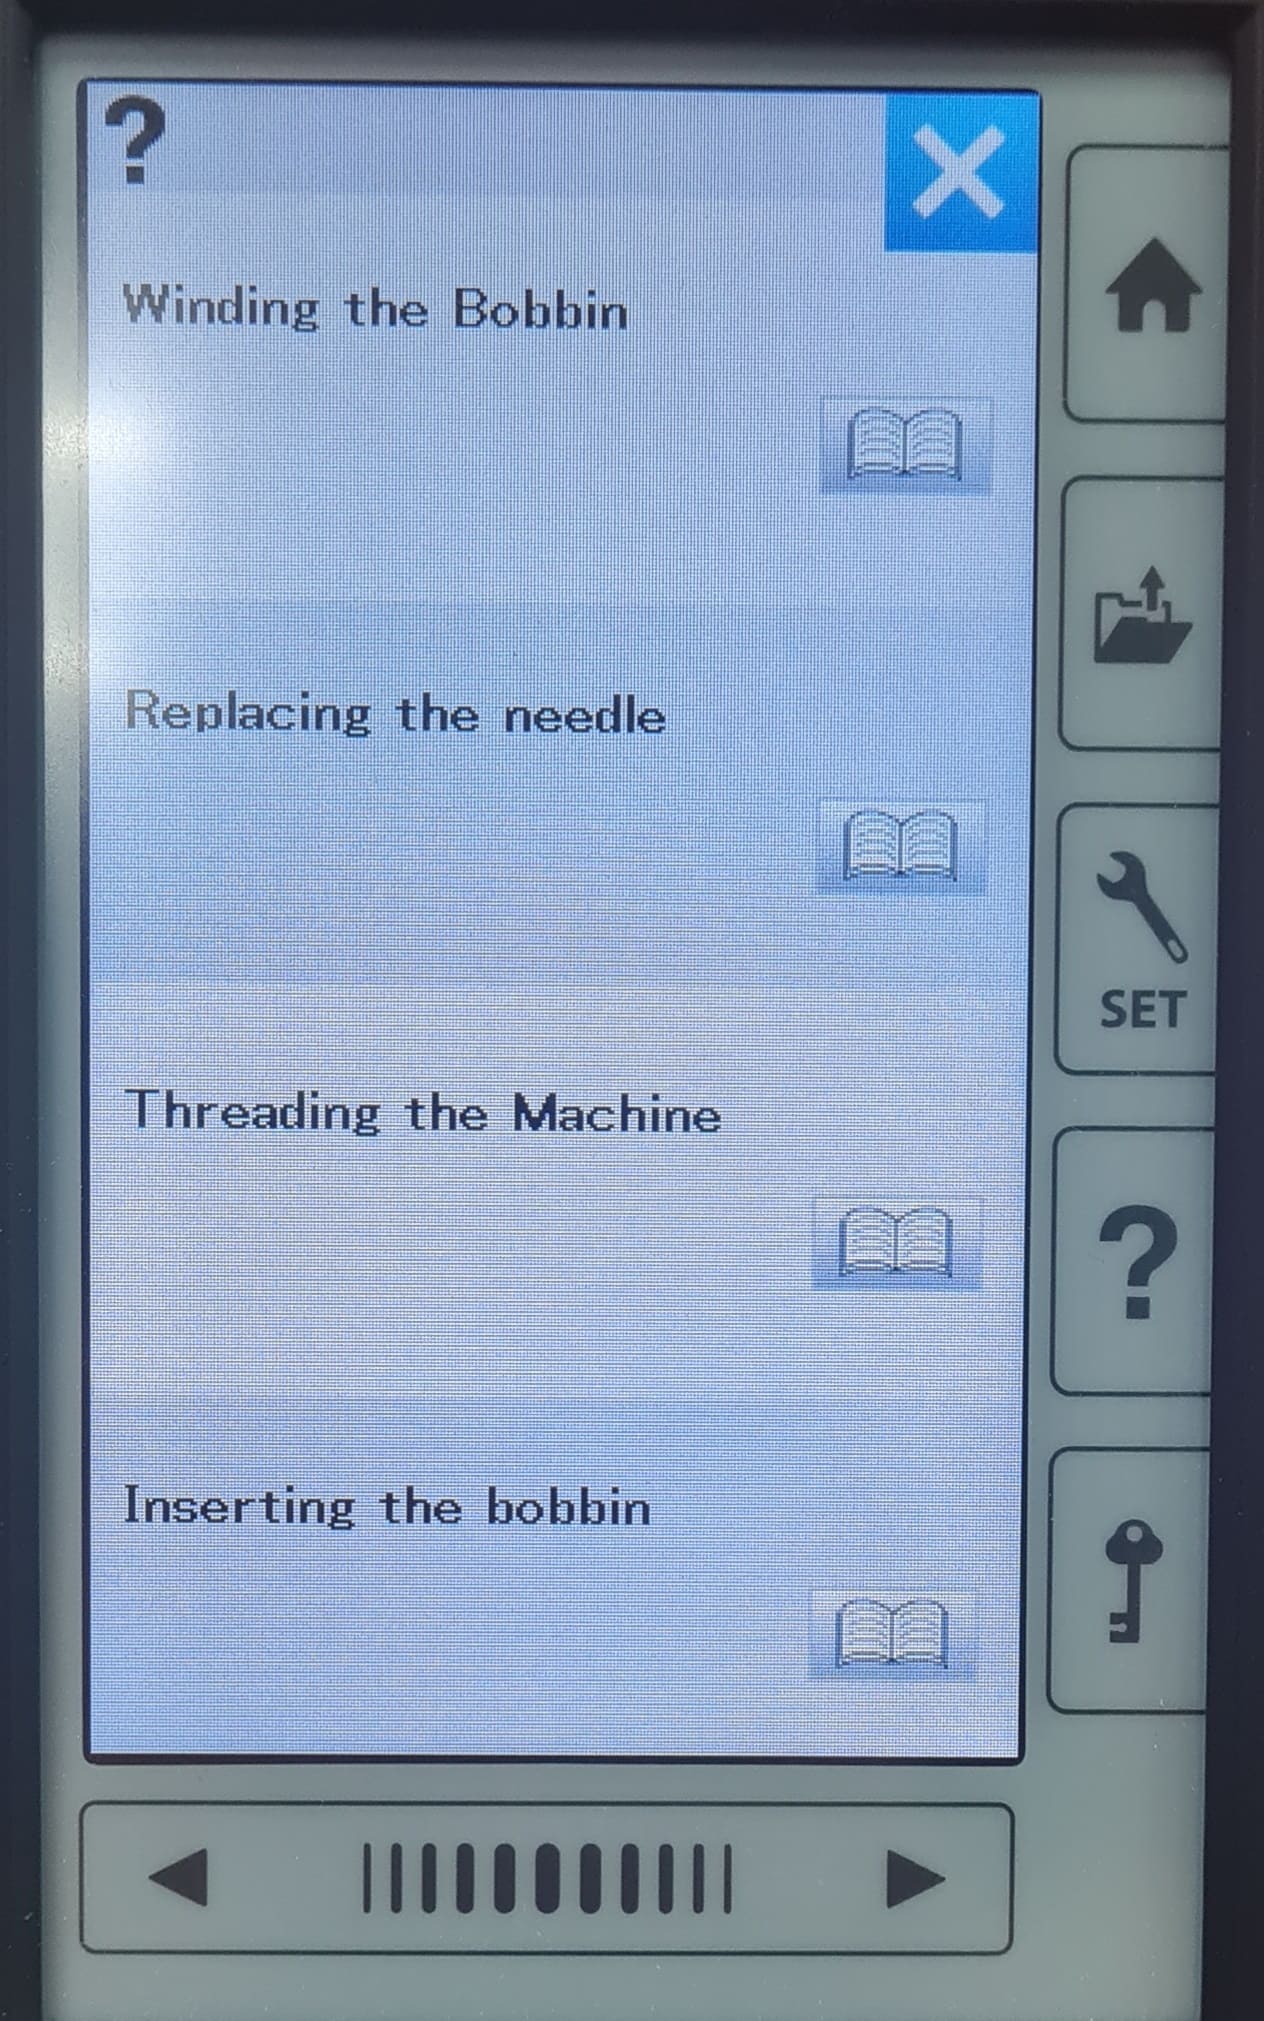
Now we are ready to start our sewing. We have to prepare the materials and the machine previous to start our design. I've never use an electric sewing machine, I remember that in high school they taught us some basic things like attach a button to a shirt, put a patch on a jeans and now that I remember we did a pillow/cushion and paste some ejes and hair. That was a couple of years ago.... lets begin:
I follow the next steps to prepare the fabric where I am going to embroider my design.
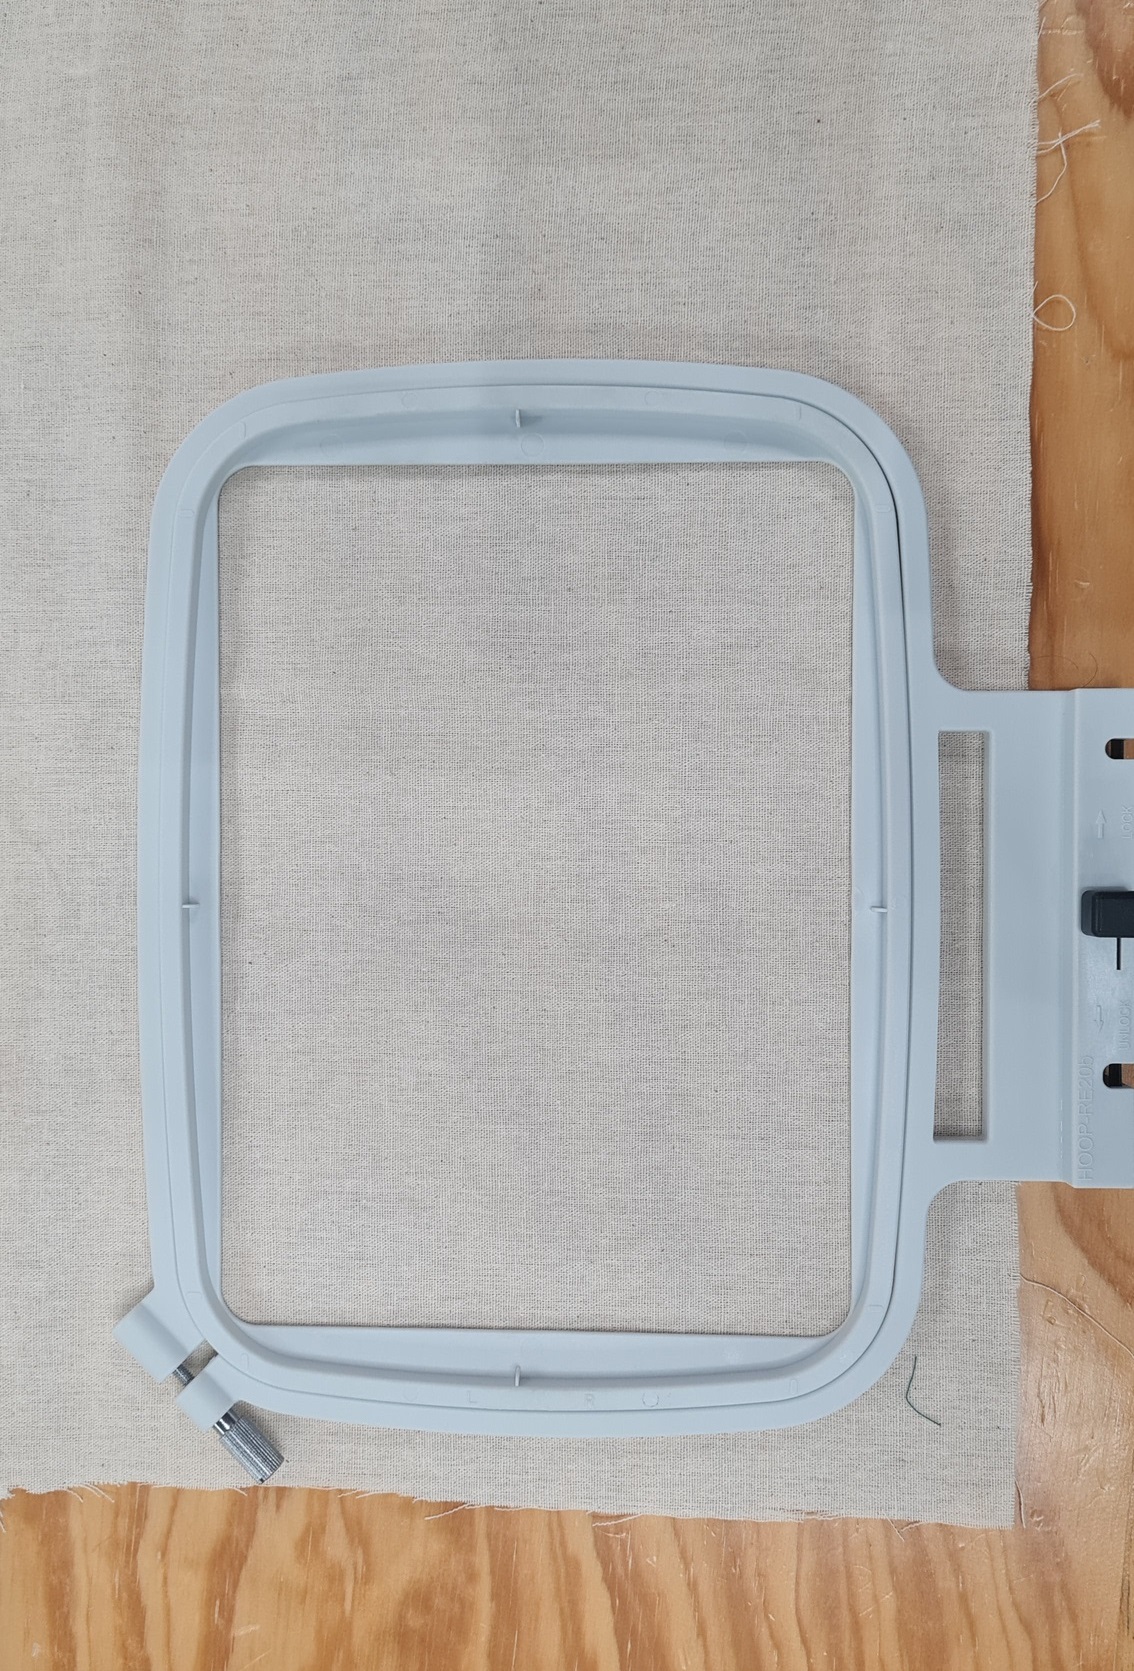
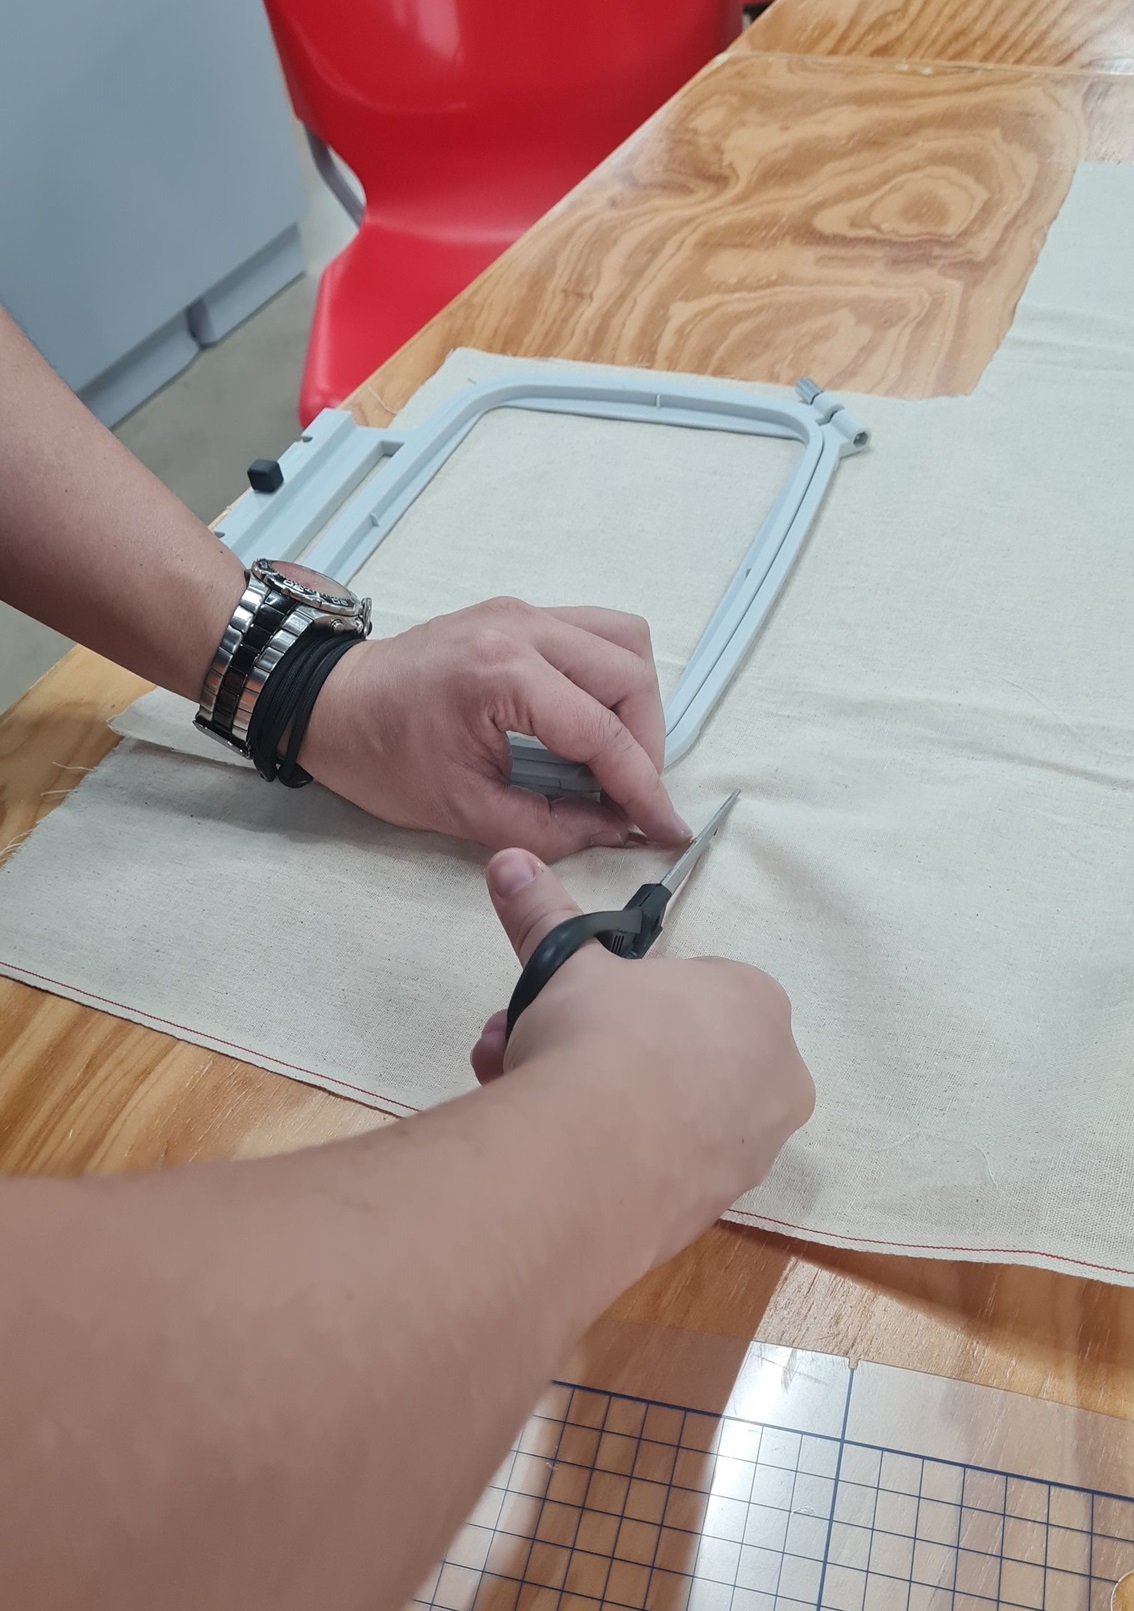
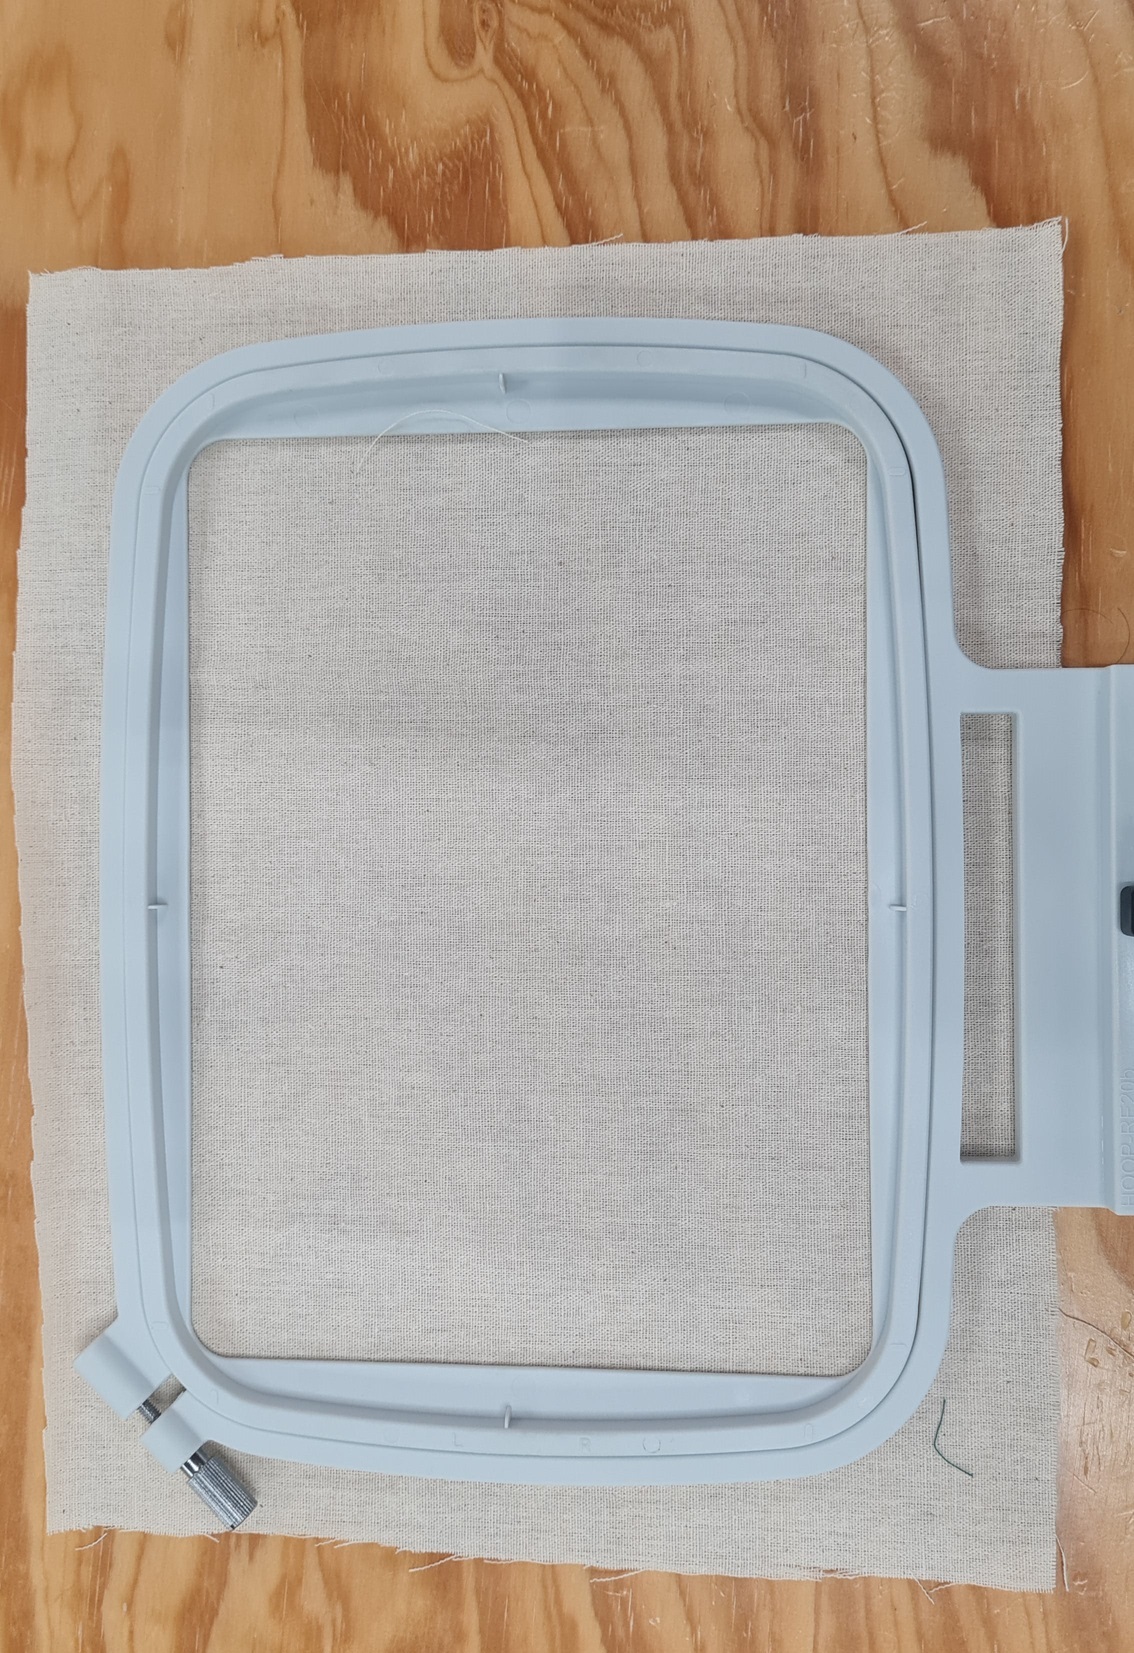
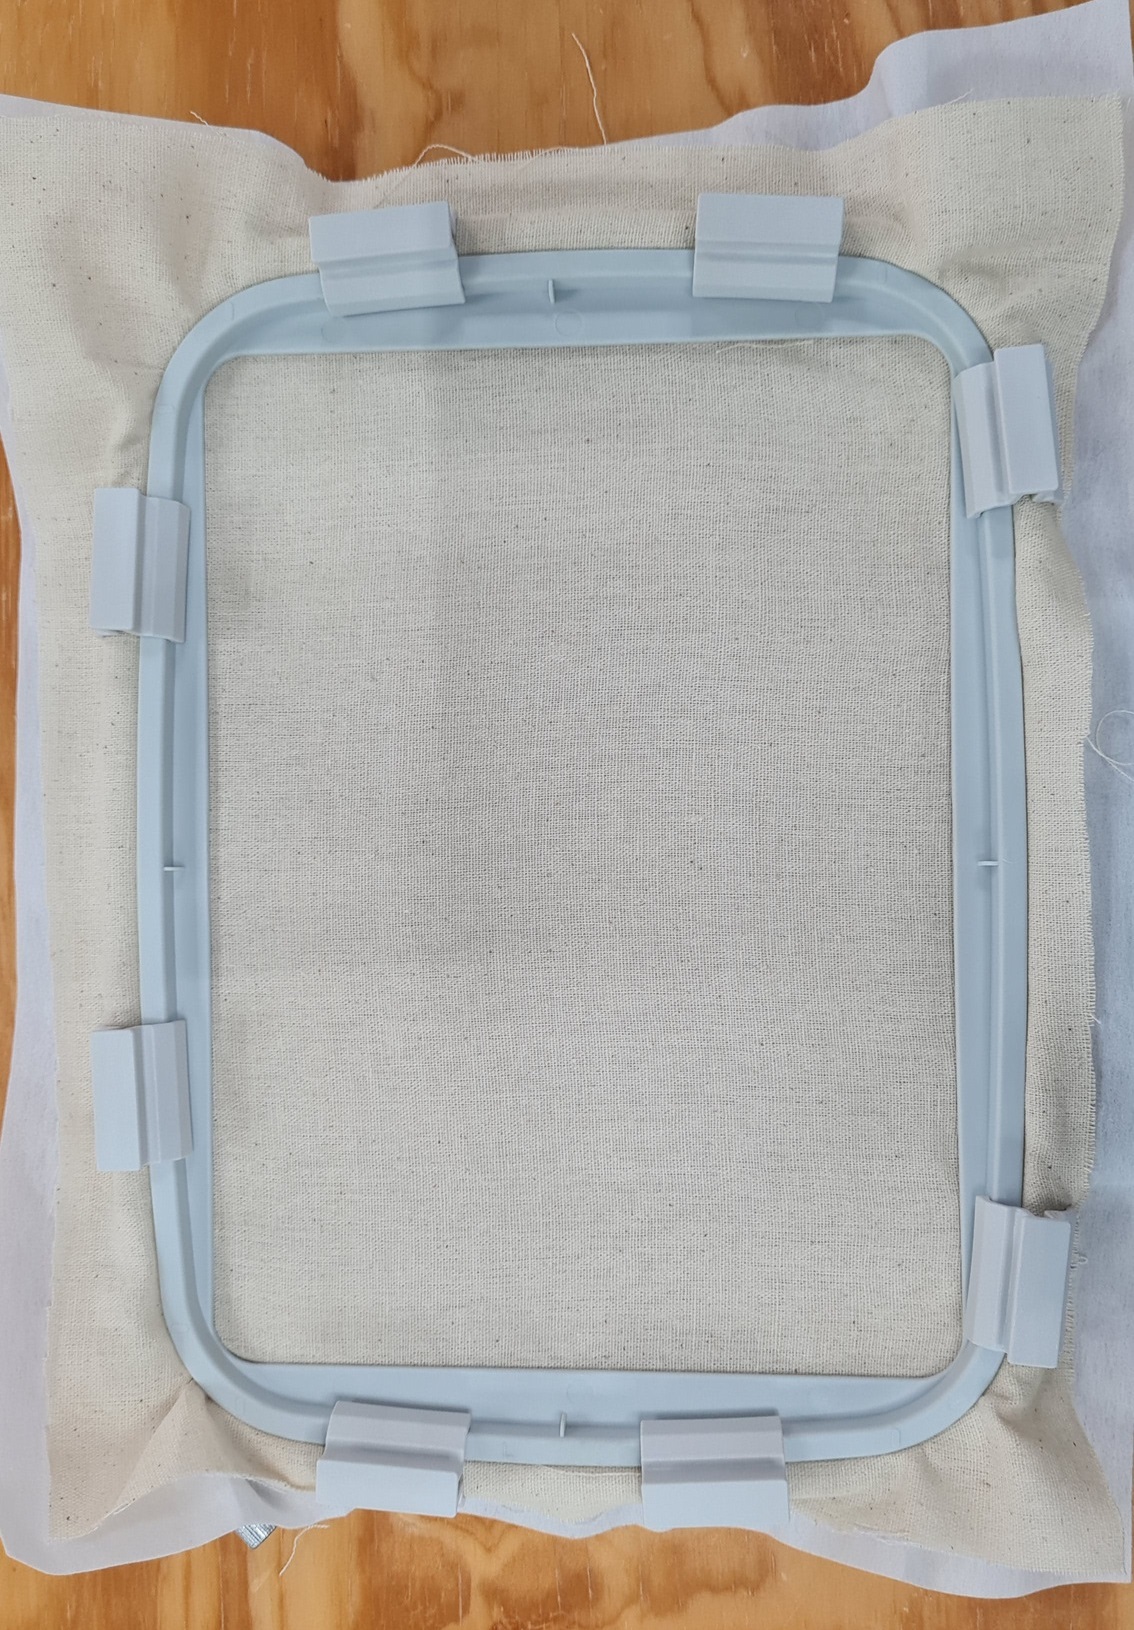
Once we have the fabric ready for our design, we have to prepare the machine and the thread. This was kind a tricky becuase I had to do several steps to prepare the thread correctly. So, instead of images I record some videos with all the steps.
Now that we have prepare the fabric and machine we are ready to start sewing. In this part i'm going to show you some results. In each result you can see the front and back of each design.
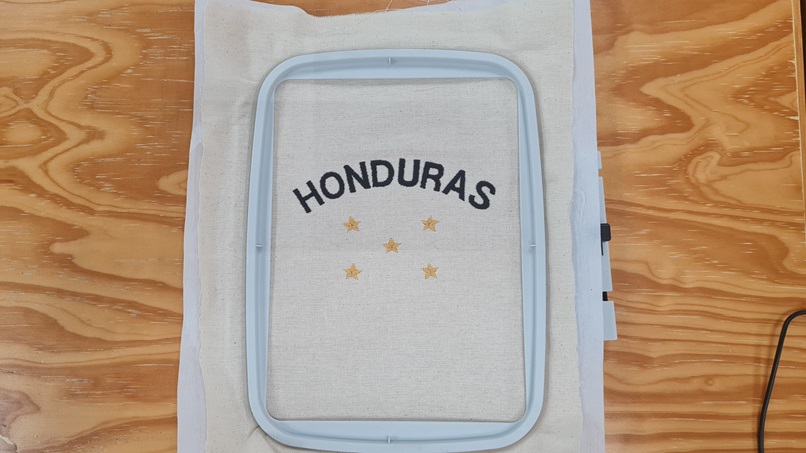
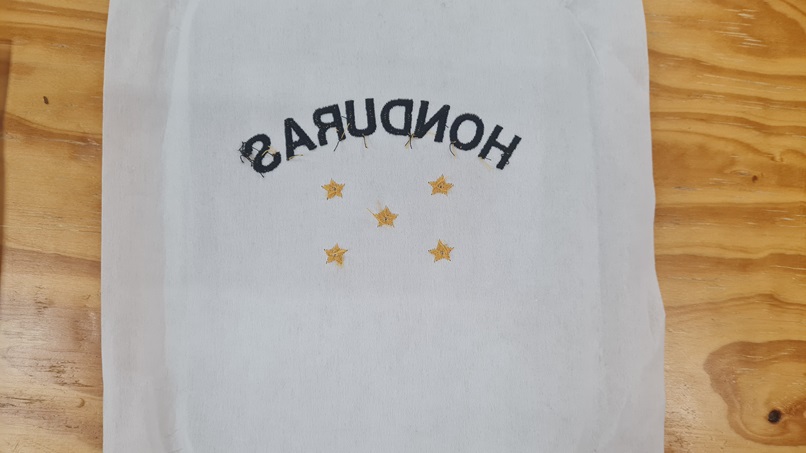
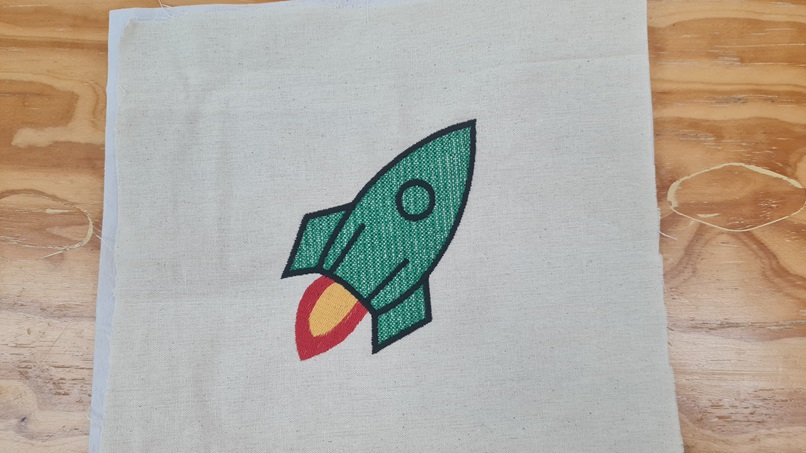
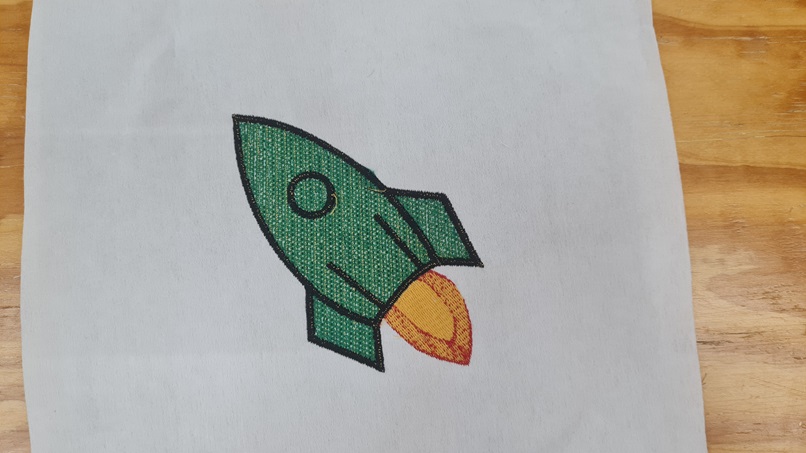
Now in this part I didn't use the pelium so it shows the difference on the backward part.
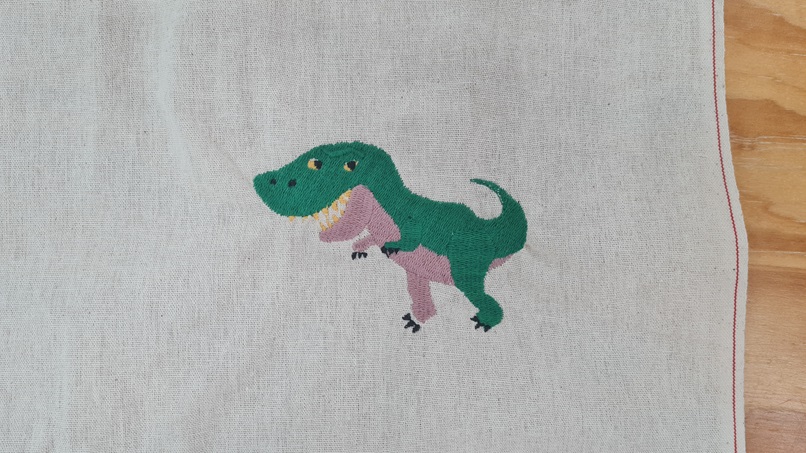
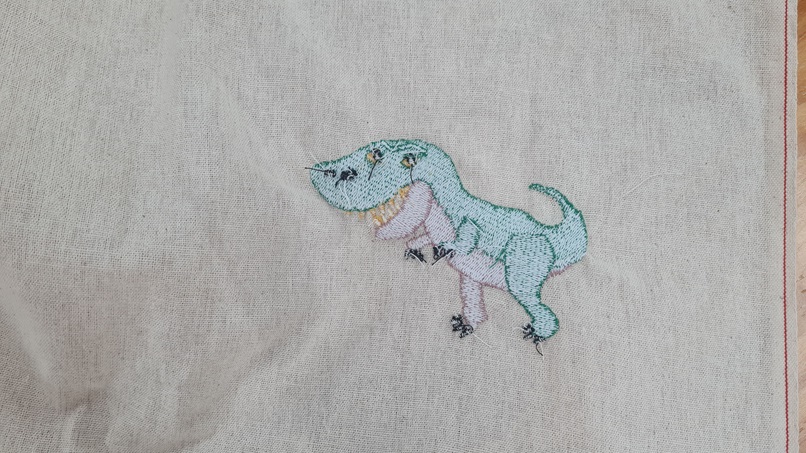
In this part of my assignment I decided to use a design from the internet and not a pre design that comes with the machine. This what I do:
To start the sewing process of the image I:

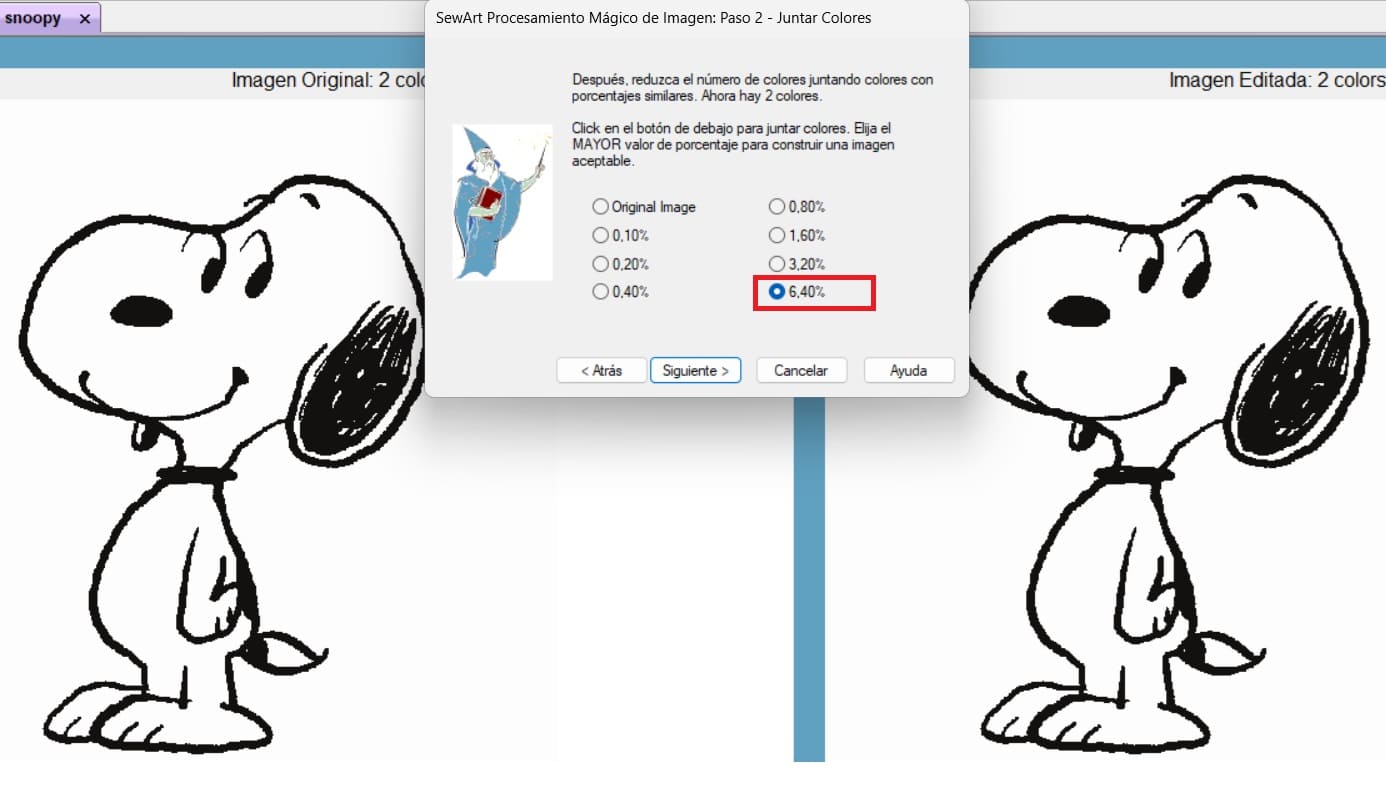
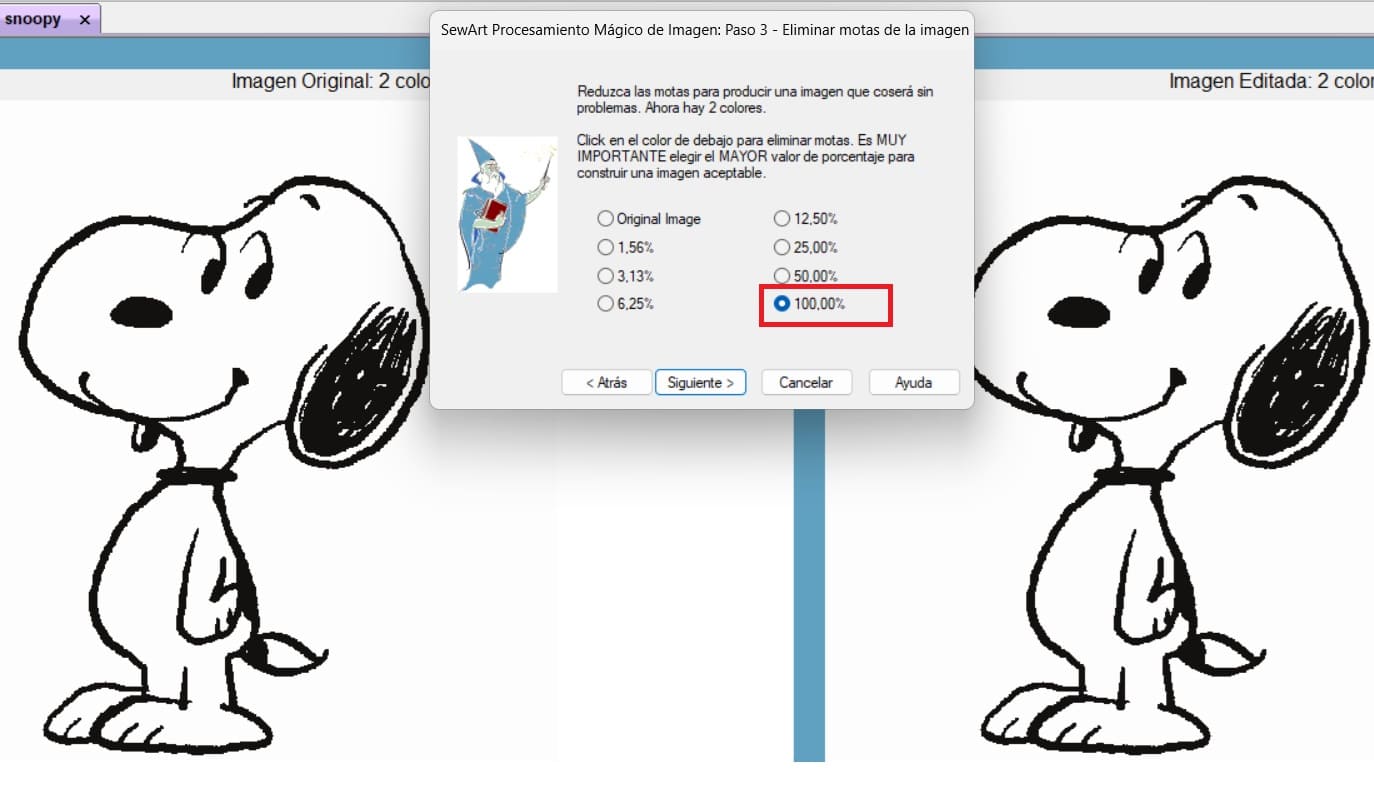
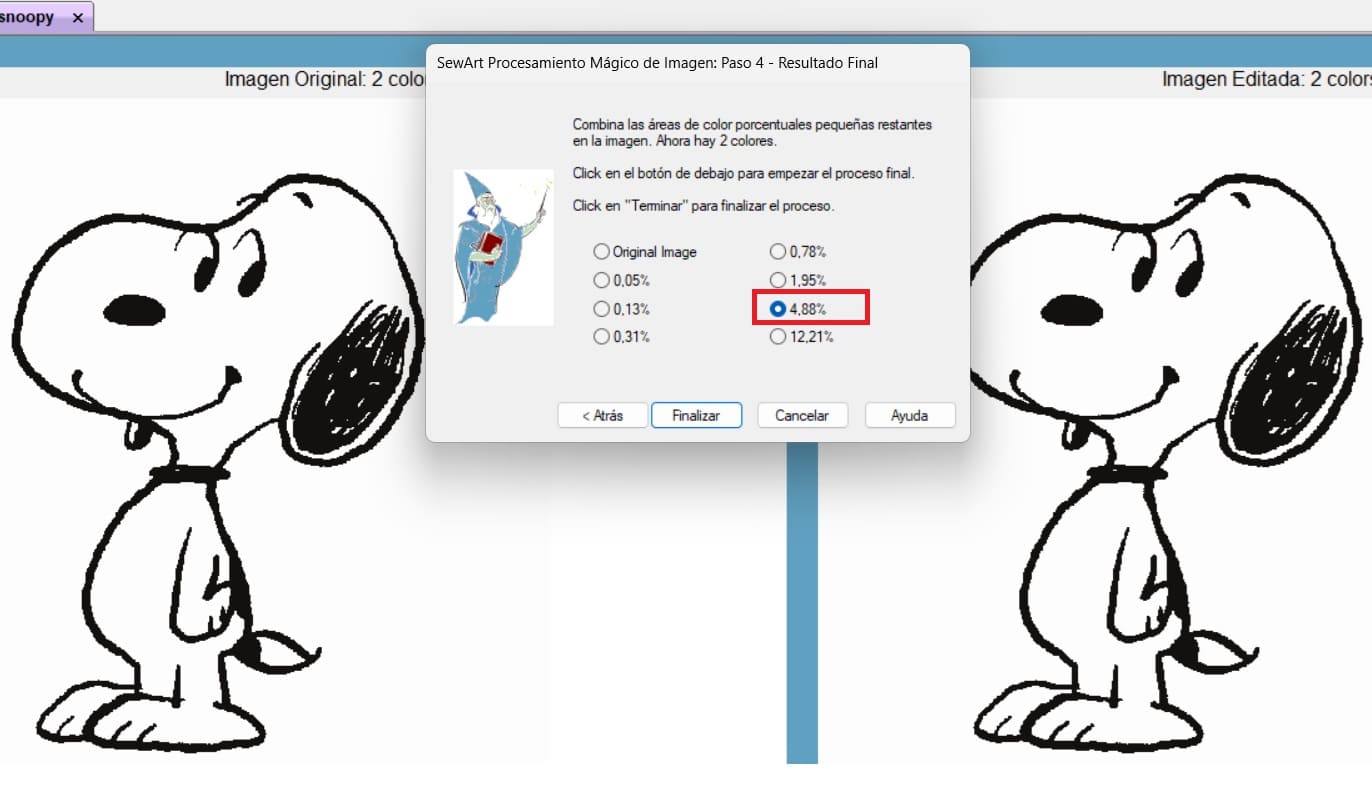
Now that the image has been prepare I have to change its format.
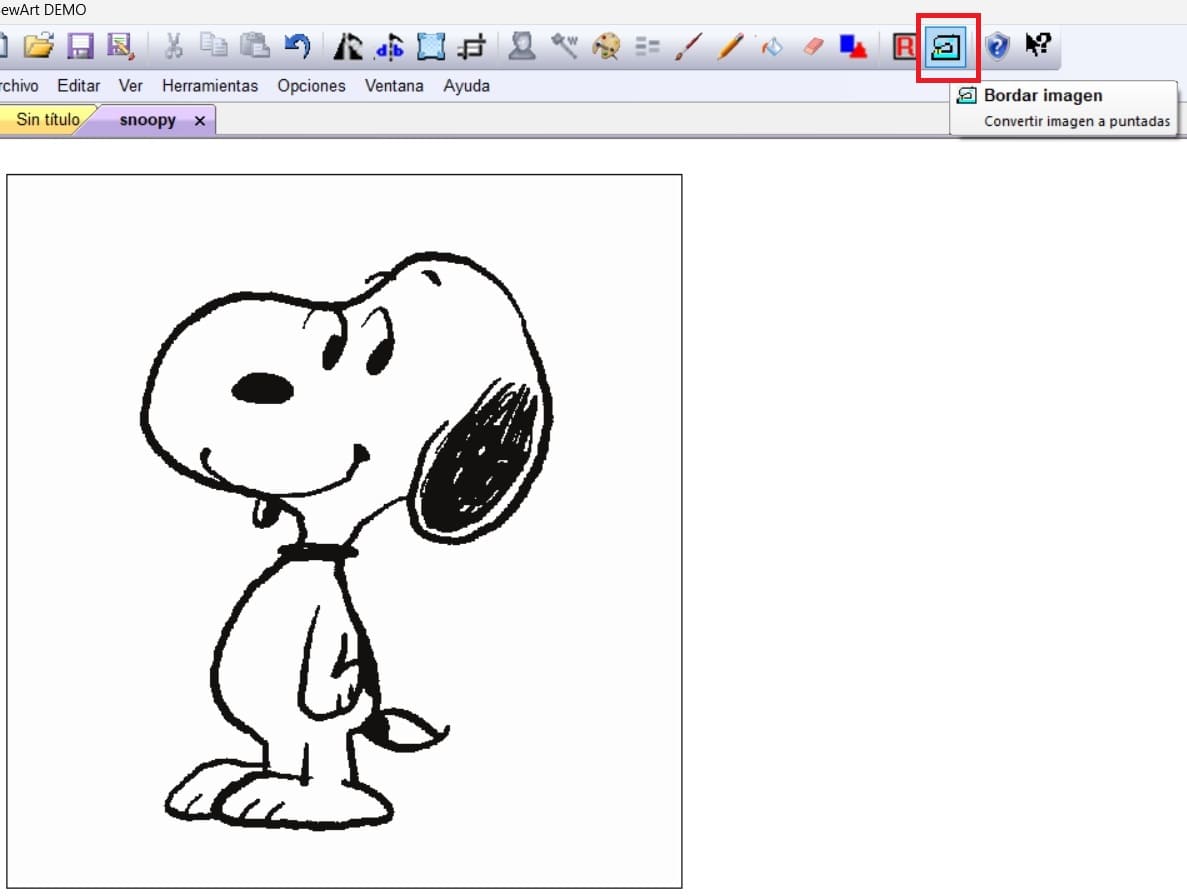
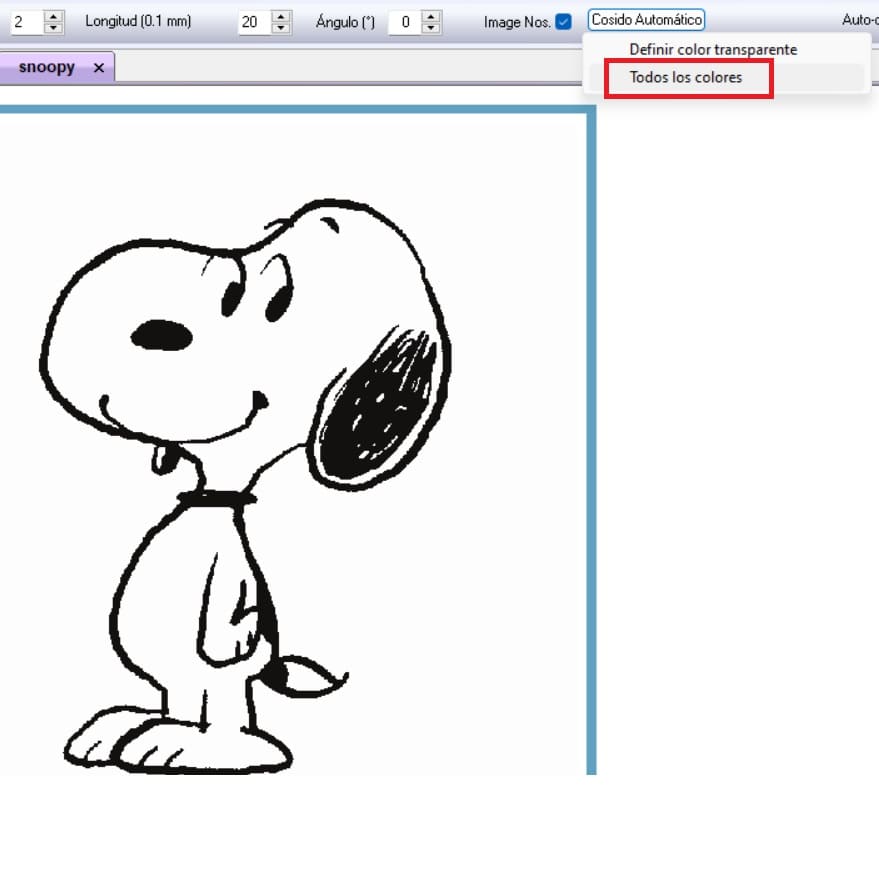
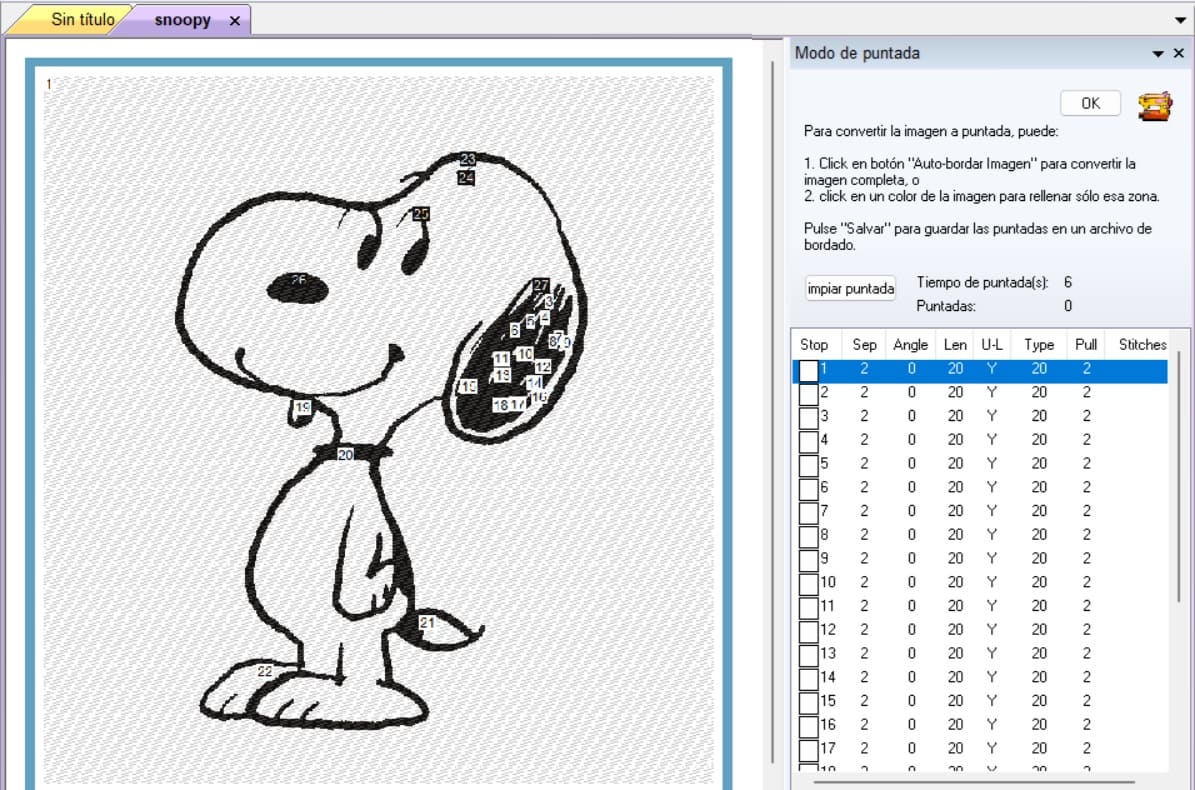
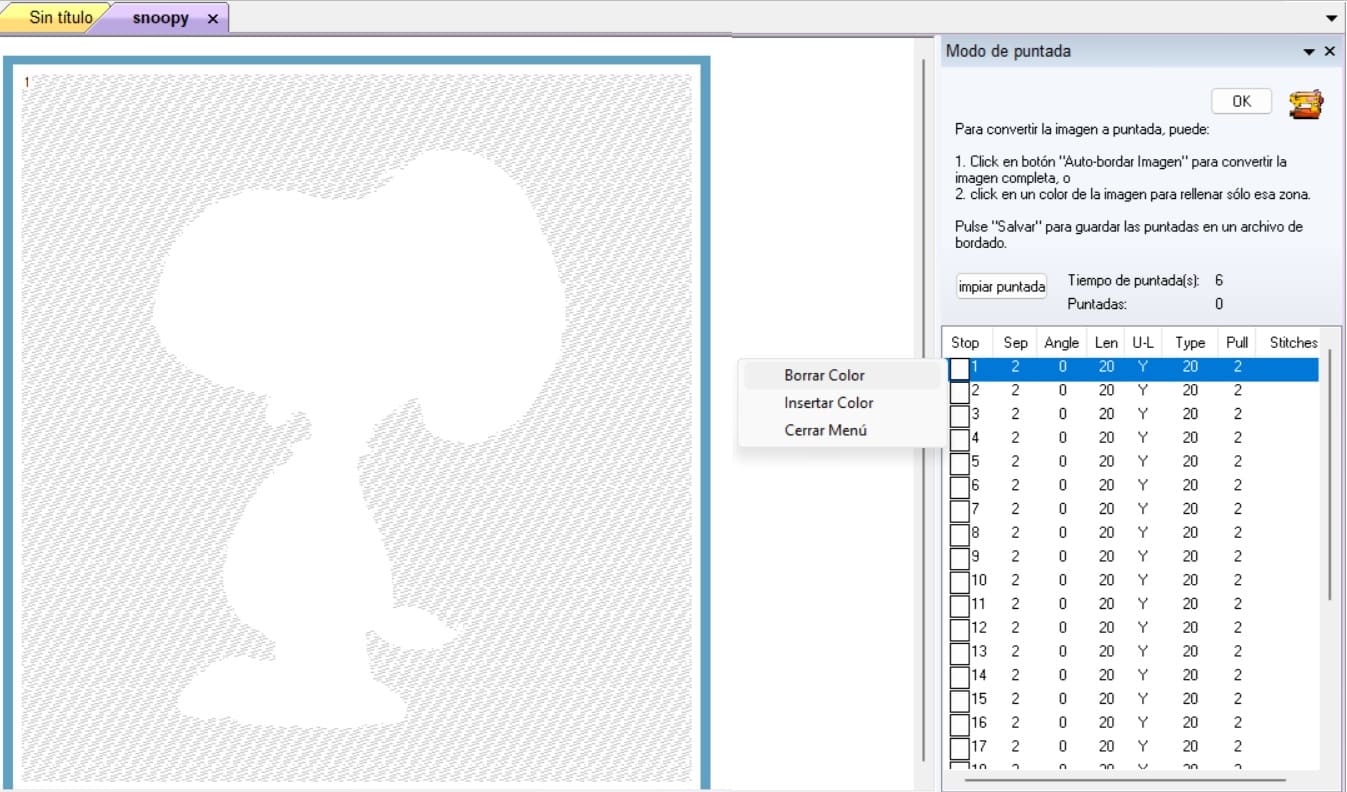
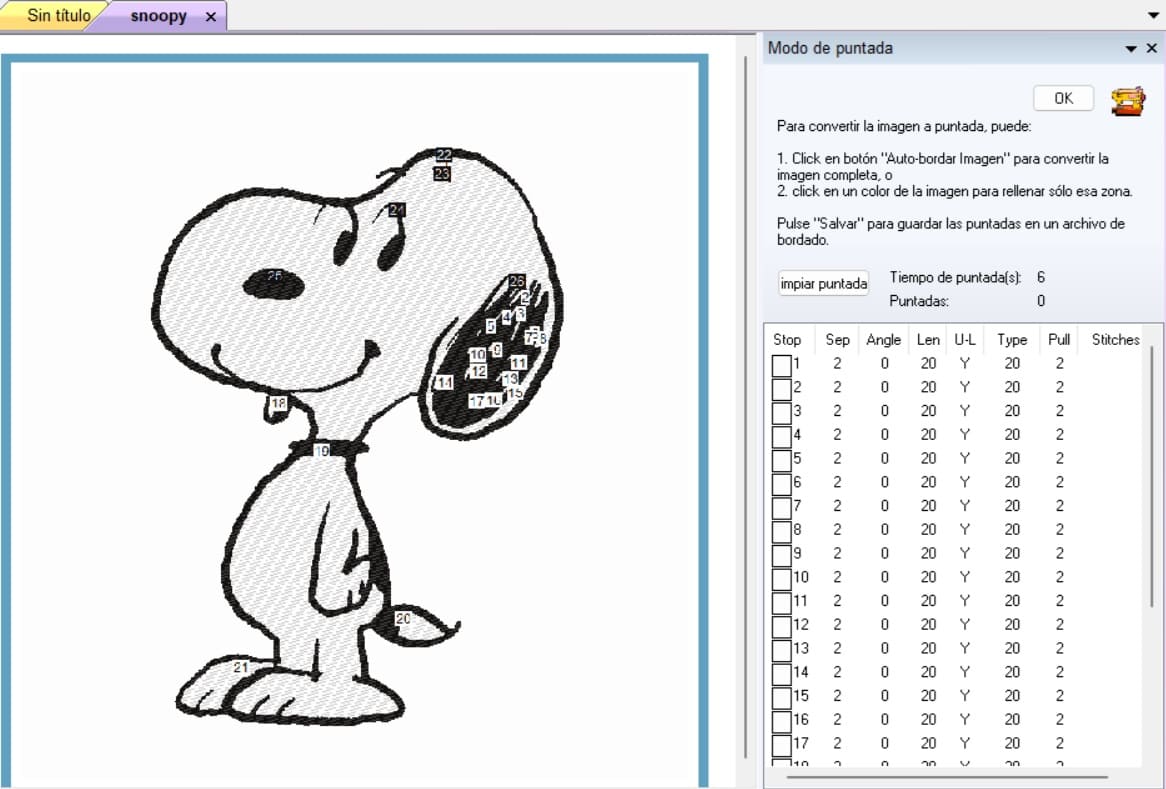
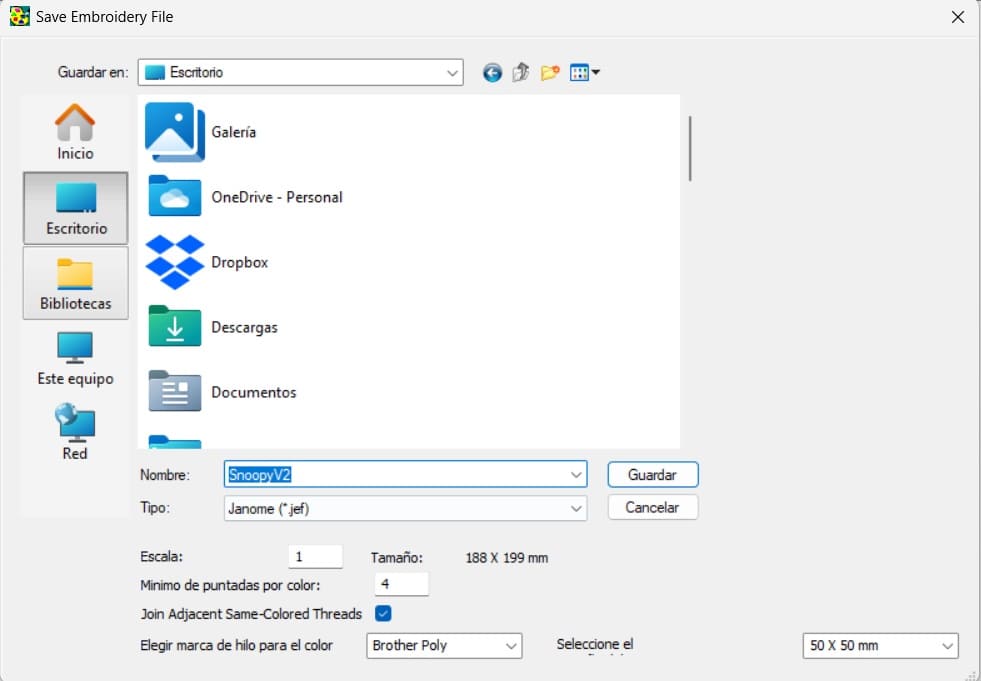
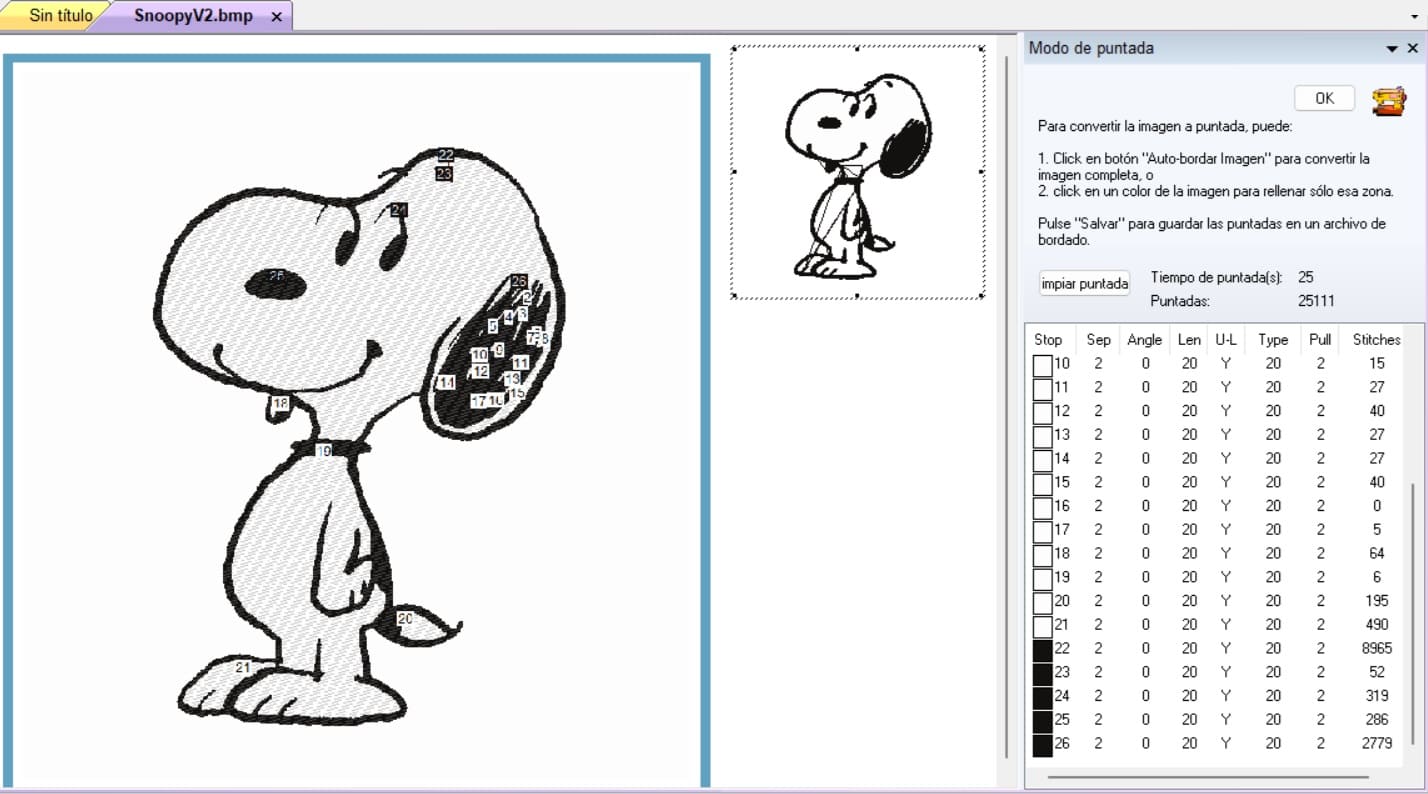
Before using the machine, I use the Embroidery editor (machine software) that will copy the image correctly so it can be read by the machine. Here are the steps:
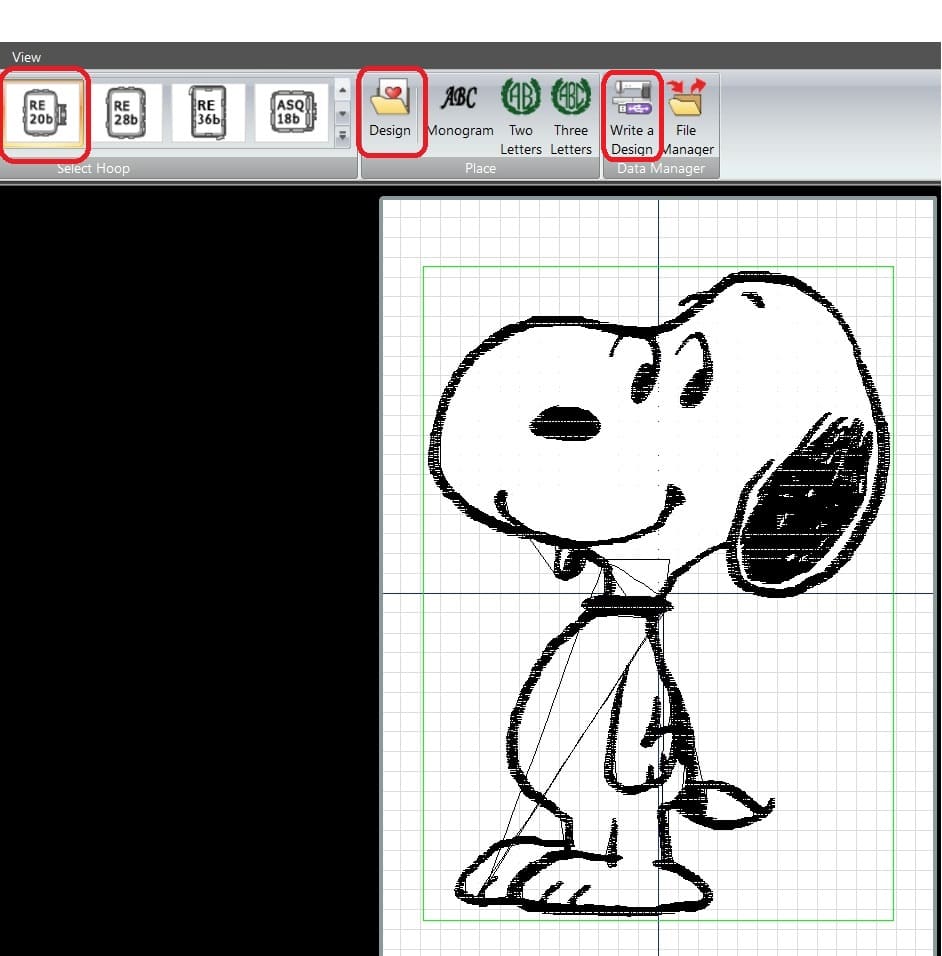
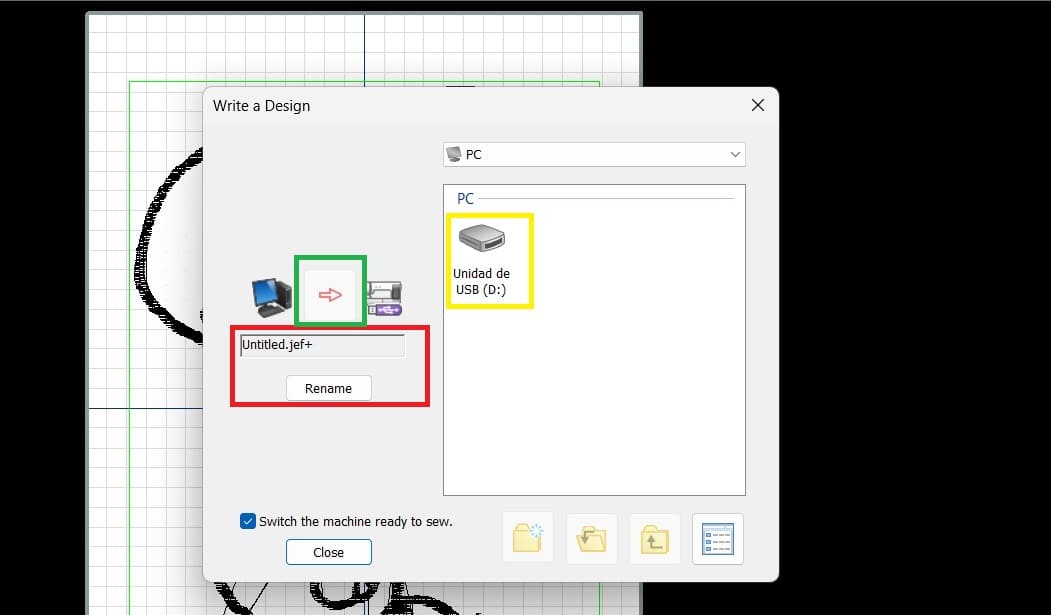
Here are the results I got from the sewing process.
For some reason it didn't do the body, maybe a problem of design. And yes, yes!.... I know, snoopy is black and white. So I gave it another try.
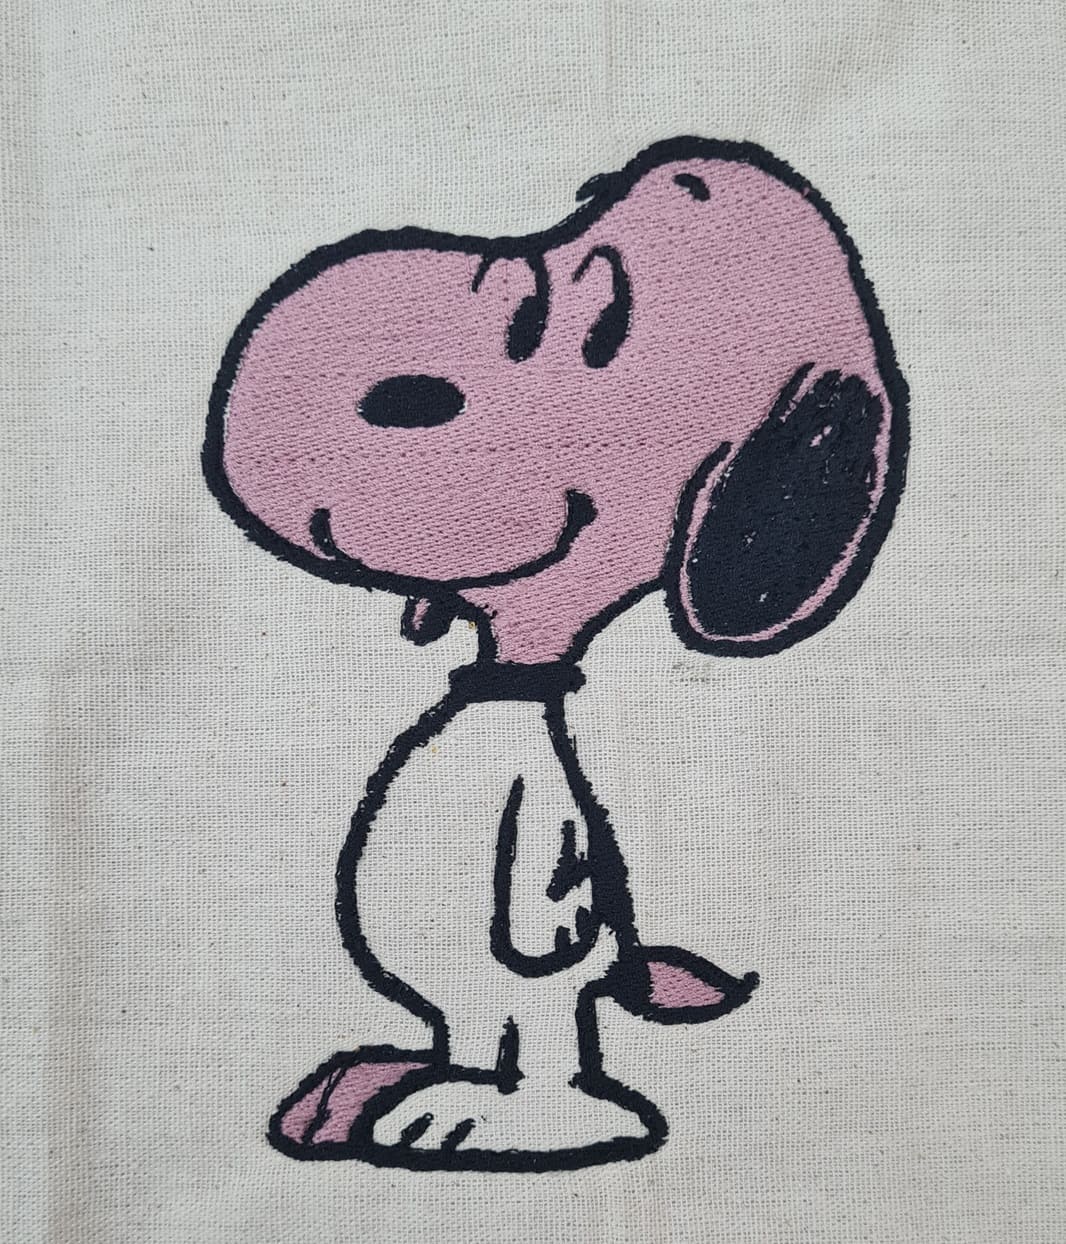
It took about 3 hours to complete this one, for some reason the thread came off the needle several times. I think the type of thread I was using.
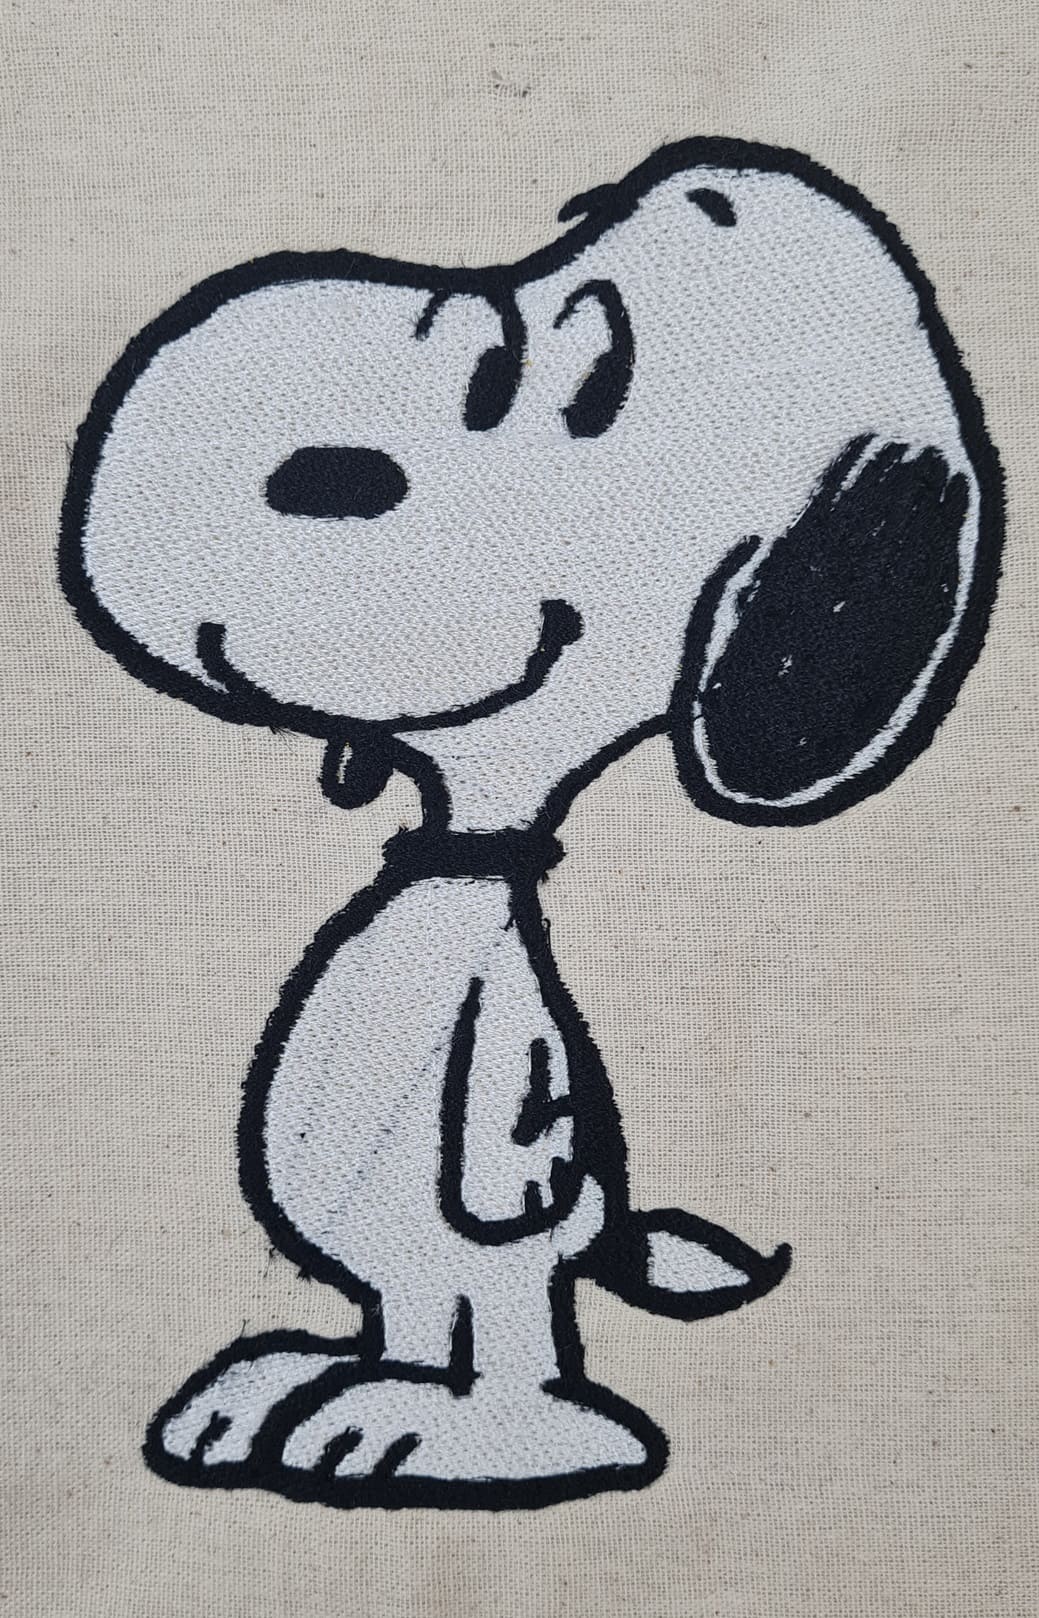
Just a few details, but I like it better.... of course snoopy is black and white! Here is a picture of the final result and a few videos of the sewing process.
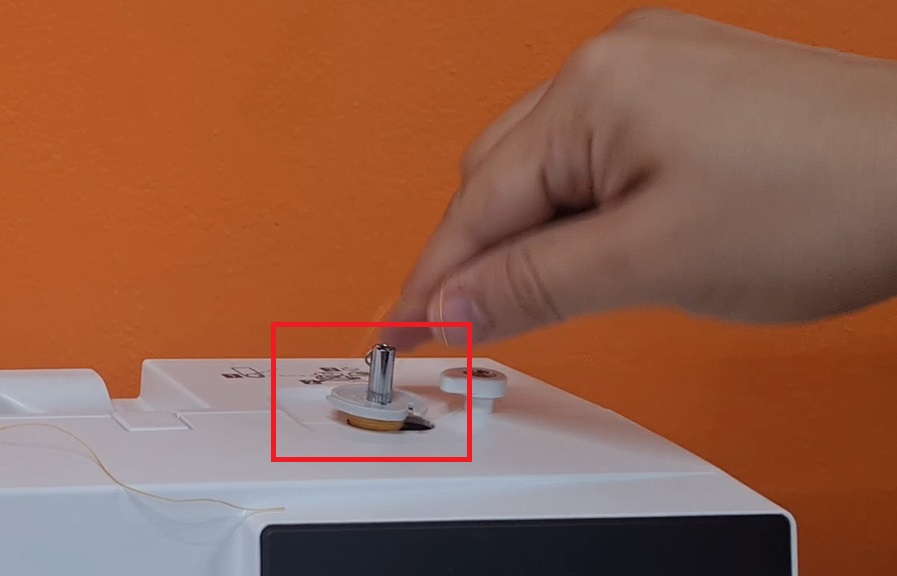
So this was my first p.i.c.n.i.c error of the week. I hope is the only one. While I was trying to thread the thread into the bobbin. My error was that I didn't read that part of the manual because I thought it didn't matter which way I wound the thread, guess what? Big, big, big mistake! Look where the thread was wound
And another one came up. I make a test and decide not tu use palium under the fabric. The result shows that the stitches didn't look ok and the thread could get ruined easily. So palium is very important to get a better result in the final result.

This are the files for my snoopy design:
What did I learn in this week?